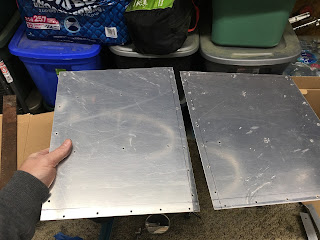
For the ribs, I am making them out of the same 0.063 sheet. I put a 3/4x3/4x1/16 angle at the top of the rib which will get nutplates so the shelf can be removable. I also cut lightening holes in them using two different hole saws in the drill press.
Each side gets two ribs. They get match drilled and finally tied to the bottom skin J-stiffeners with pop rivets later.
I and angle to the ends of the ribs to prevent them from collapsing under weight.
Here is the co-pilot's side all fab'ed up and cleco'ed in place.
Rear view of the co-pilots side looking fwd.
Next I started duplicating parts for the pilot's side. It was a bit of a brain teaser to do this without messing up! Here is the side skin translator assembly for the other side.
Used the shelf deck plate to match drill all the holes in the opposite side plate.
Added the angles front and back.
Match drilled to the battery box and the skin translator assembly.
Fabricated the opposite side ribs.
Clamped everything in place and match drilled the ribs to the deck and to the bottom skin J-stiffeners.
Here they are all ready to have the screw holes punched out to #12 and the nutplates added after priming. I likely won't pop rivet all the ribs and translators in until much later in the build.
Overall this took several hours but it will be worth it to have a nice secure place to mount avionics components down the road. The entire assembly is very strong and would be fine to crawl on.


No comments:
Post a Comment