So today I got started by drilling the nutplate mounting holes in the tie down brackets. I used my awesome nutplate jig to get this done!
Then I countersunk the back of the brackets for the nutplate mount rivets.
Finally I needed to do a small batch of priming so I can finish assembly of the spar parts and move on to ribs!
All primed.
Next I riveted the nutplates to the tie down brackets. I used the squeezer for this task.
And then used the gun and bucking bar to rivet the tie down brackets to the spars.
One spar done.
Next spar done.
Then I started riveting the spar extension to the spar.
I used the gun and bucking bar for this task.
Done!
Documenting the trials and tribulations of building a Van’s Aircraft RV-10 airplane.
Showing posts with label Tools. Show all posts
Saturday, August 24, 2019
Saturday, May 11, 2019
Mounting the empennage to the tail cone #3
I did not follow the directions and mount the elevators to the HS on the bench like they tell you to. The only reason I can see they have you do that is to help stabilize the whole mess. My HS is already mounted to the tailcone and I used straps to help keep it stable. So now I am going to mount the elevators.
I made this tool back when I built the RV-7. It works like a dream at installing rod end bearings into nutplates.
Detail of how it is made on the business end.
The bearing goes in like this. The way it is made, it puts the pressure on the outside of the bearing and not the ball which can damage these things.
Get the bearing started in the hole and twist to the desired depth. Easy peasy!
I installed these exactly per the plans which is 7/8" from the center of the ball hole to the face of the elevator front spar. To make it easier, add 3/8" to that dimension and measure 1-1/4" from the top of the outside edge of the bearing assembly to the front spar face. I used the depth gauge feature of my digital calipers to do this.
Amazingly this worked like a treat! The elevator counterweight ended up perfectly aligned with the HS! No goofing around with the bearings required!
Friday, March 29, 2019
Tail Cone Priming Part #1
Here is a quick video on how I am using it. Wet the parts, sprinkle on some BonAmi and go to work.
Parts all prepped and waiting on them to dry.
This is how I mix up the AKZO for a priming session. This stuff starts to separate rapidly so it is important to mix it good so the solids are in suspension.
First batch of parts all primed! Sorry about the blurry pic!
Sunday, March 24, 2019
Tail Cone deburring
Started deburring the millions of holes and edges of the skins. Bottom skin first. I am using this new to me in and out double sided blind deburring tool by EZ-Burr.
You litterally just spin it up, and insert it at a nice steady pace and then retract it at a nice steady pace. Works like a dream.
Short little demo video to show how fast it is. Remember it is deburring both sides of the hole at the same time!
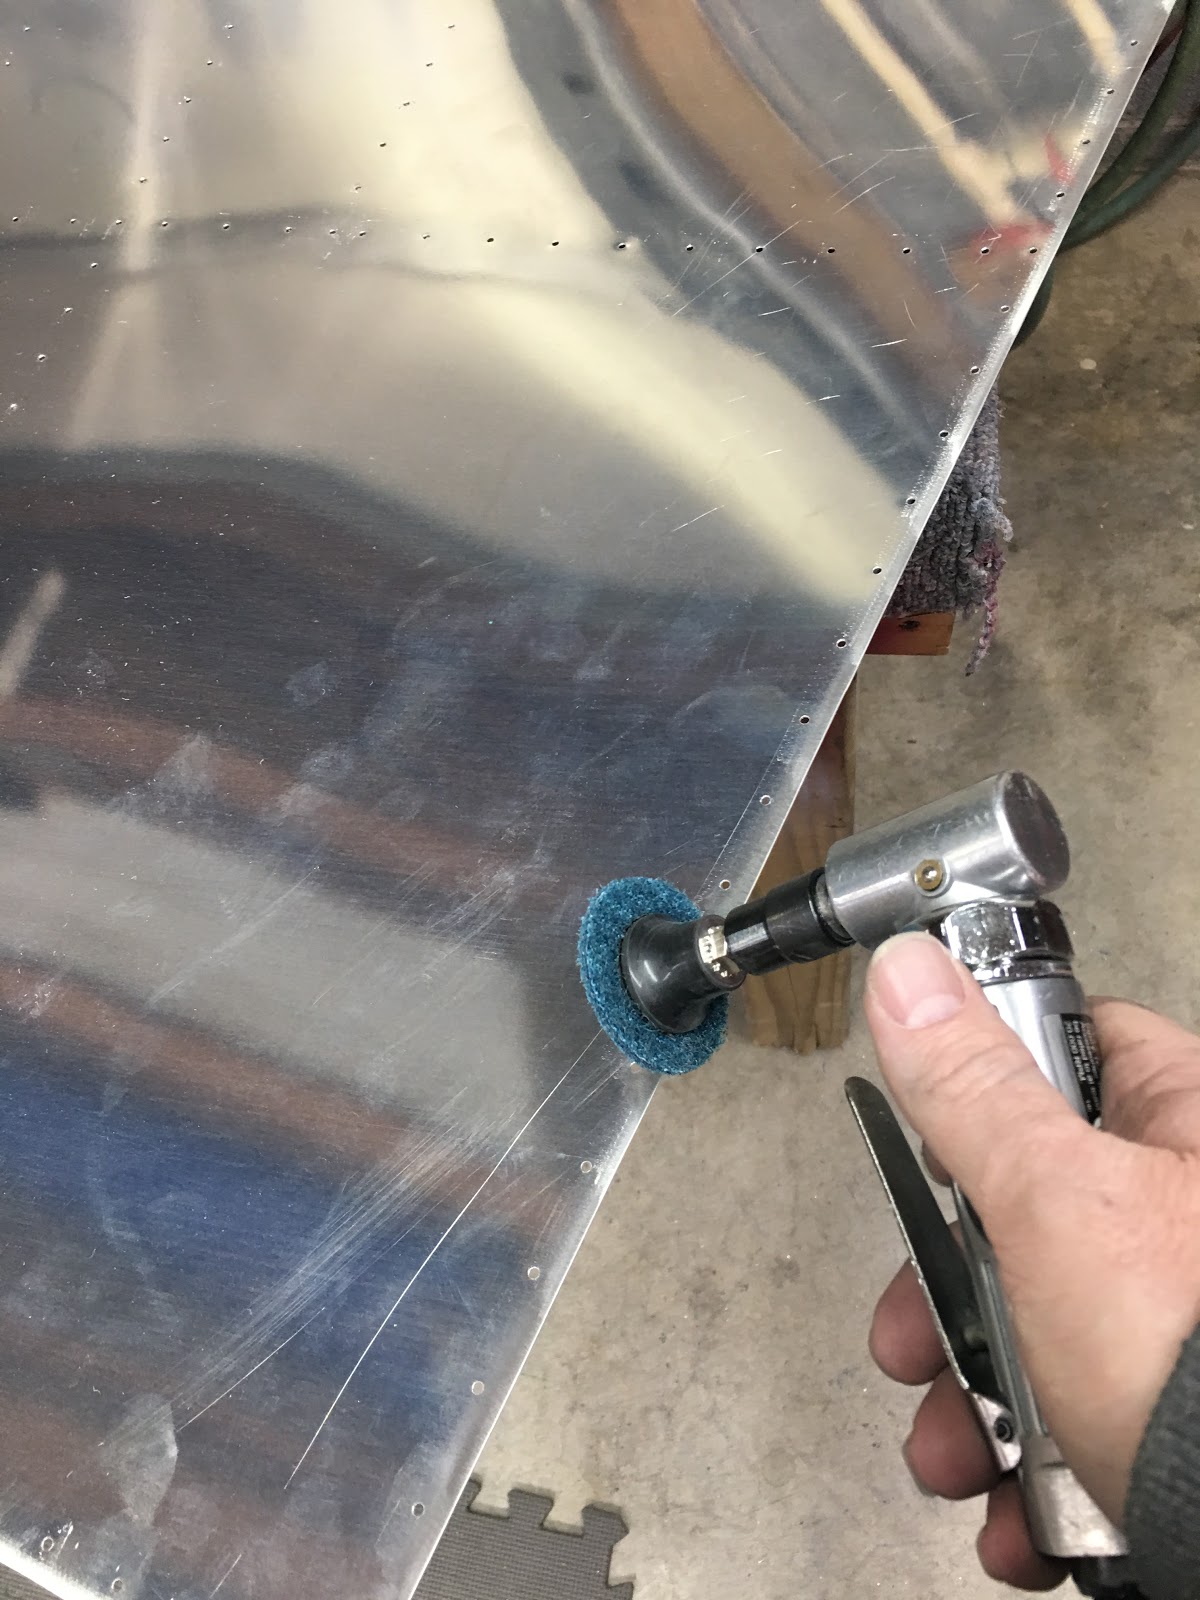
I then deburred the top skins. Switched to the ro-lock style pads in a 90° die grinder for these.
Wednesday, March 20, 2019
Yaw Damper Servo Mount
I ordered 200 more 3/32 cleco's from Vans. Getting a few with each order so I can have plenty for the wings. I now have ~1050ea 3/32 cleco's!
NOTE: The following is a spin off the plans and into experimental world. Garmin makes an install kit for both the Pitch and the Yaw Damper servos. Just buy them for a simple care-free install.
So I wanted to make sure I put in the provisions for the pitch servo and the yaw damper servo now while the tail cone is wide open and easy to work with. The pitch servo bracket is a no brainer, bolt in place bracket I purchased from Van's. The yaw damper servo mount kit I also purchased from Van's however it is designed for the RV-14 and not the RV-10. The good news is that most of it fits right out of the gate. The support bracket that ties the mount to the bulkhead is where things go off plans and must be dealt with....
To give context, here is what the assembly should look like when installed on a RV-14:
And here is how all the parts go together on a RV-14:
The problem is that the bracket does not align like that on the RV-10. The bulkhead holes are pre-drilled in a different configuration which leaves things looking like this:
Notice the holes in the top and bottom of the bracket do not align with the prepunched holes in the bulkhead. Also notice the center hole is not concentric with the larger hole prepunched in the bracket.
To fix this I did something very similar to what Caleb Tennis posted he did on VAF with this post:
Next I noticed that when everything is cleco'ed into place, there is a pretty good sized gap between the bracket and the bulkhead. I do not want to just force everything together so I will make a spacer for this issue.
Next I match drilled the mounting ear doubler plates to the bracket's mounting ears. Then I countersunk the fwd face of the holes to receive flush rivets because these will go against the spacer later.
Next I squired on some rattle can primer on these parts because I need to go ahead and rivet these doublers to the bracket mounting ears. No time to prime with AKZO!
Here are the doublers riveted to the bracket's mounting ears.
Next I made a spacer out of 0.063" sheet. I used the bracket as a template to mark and cut it out.
Then I match drilled the center hole of the bulkhead to the whole assembly using a long drill bit. I clamped the whole assembly well before drilling.
Next I punched this hole I just drilled up to a #12 to receive a #3 AN bolt.
This is what I was after. The ability to unbolt and remove this bracket in the future when I need to crawl into the tailcone.
Those two bolts need a nutplate on the fwd side of the bulkhead. I used my nutplate jig to get the job done. Pilot side...
Co-pilot side...
I will need to countersink these holes for the nutplate mount rivets as I want them to go through the spacer and the bulkhead web.
I will install a nutplate on each side fwd of this bulkhead to receive the bolts.
I will need to dimple these bulkhead holes and install flush rivets on the aft side. This is because the spacer will lay on top of this area.
Pretty good little task but I am very happy with how it turned out! Thanks to Caleb Tennis for the ideas I stole from his post!
NOTE: The following is a spin off the plans and into experimental world. Garmin makes an install kit for both the Pitch and the Yaw Damper servos. Just buy them for a simple care-free install.
So I wanted to make sure I put in the provisions for the pitch servo and the yaw damper servo now while the tail cone is wide open and easy to work with. The pitch servo bracket is a no brainer, bolt in place bracket I purchased from Van's. The yaw damper servo mount kit I also purchased from Van's however it is designed for the RV-14 and not the RV-10. The good news is that most of it fits right out of the gate. The support bracket that ties the mount to the bulkhead is where things go off plans and must be dealt with....
To give context, here is what the assembly should look like when installed on a RV-14:
And here is how all the parts go together on a RV-14:
The problem is that the bracket does not align like that on the RV-10. The bulkhead holes are pre-drilled in a different configuration which leaves things looking like this:
![]() |
| Photo by Parish Moffitt |
To fix this I did something very similar to what Caleb Tennis posted he did on VAF with this post:
First I fabbed up these doubler plates that will sit on the aft faces of the brackets mount ears to cover that larger pre-drilled hole in the center of the bracket's ears.
Then I match drilled the center hole of the bulkhead to the whole assembly using a long drill bit. I clamped the whole assembly well before drilling.
Co-pilot side...
I will need to countersink these holes for the nutplate mount rivets as I want them to go through the spacer and the bulkhead web.
I will install a nutplate on each side fwd of this bulkhead to receive the bolts.
I will need to dimple these bulkhead holes and install flush rivets on the aft side. This is because the spacer will lay on top of this area.
Pretty good little task but I am very happy with how it turned out! Thanks to Caleb Tennis for the ideas I stole from his post!
Thursday, January 17, 2019
Tail Cone bottom stiffener and bulkhead drilling
Started tonight by adding the vertical extension to my new saw horses. This gets them up high enough to clear all the bulkheads. Easy peasy.
Then I cleco'ed the aft three bulkheads to the bottom skin. This is a bit challenging to align.
Then I slid the two fwd stiffeners into place.
Then I aligned the centerline with the holes and aligned the starting point to the fwd most hole and drilled the stiffeners to the skin with my new 4000rpm drill. Man I love this thing! Makes fast work of these holes!
Here are the fwd end of the fwd stiffeners all drilled.
And then I drilled the aft end of the fwd stiffeners to the skin. Go carefully and make sure the line stays in the middle of the holes!
Then I slid in the aft center stiffener and drilled it the same way.
Then I cleco'ed these two bellcrank ribs to the assembly.
And match reamed their holes that are common with the skin. I could not find anywhere in the directions on when to do this so I did it now.
Then I match drilled these bellcrank rib flange to bulkhead web rivet holes to #30. Used a 12" drill bit to make it easier to align.
Here are the stiffeners and bellcrank ribs all drilled to the bottom skin. I love the new drill!
Then I cleco'ed the aft three bulkheads to the bottom skin. This is a bit challenging to align.
Then I slid the two fwd stiffeners into place.
Then I aligned the centerline with the holes and aligned the starting point to the fwd most hole and drilled the stiffeners to the skin with my new 4000rpm drill. Man I love this thing! Makes fast work of these holes!
Here are the fwd end of the fwd stiffeners all drilled.
And then I drilled the aft end of the fwd stiffeners to the skin. Go carefully and make sure the line stays in the middle of the holes!
Then I slid in the aft center stiffener and drilled it the same way.
Then I cleco'ed these two bellcrank ribs to the assembly.
And match reamed their holes that are common with the skin. I could not find anywhere in the directions on when to do this so I did it now.
Then I match drilled these bellcrank rib flange to bulkhead web rivet holes to #30. Used a 12" drill bit to make it easier to align.
Here are the stiffeners and bellcrank ribs all drilled to the bottom skin. I love the new drill!
Labels:
Empennage,
Jigs/Fixtures,
Tail Cone,
Tools
Subscribe to:
Posts (Atom)