Saturday, September 1, 2018

Vacation

The family and I are on vacation for the week so there will be no updates till we return.

Thursday, August 30, 2018

More VS deburring work

 Started by removing all the clecos from the cleco'ed together VS.  Then got to work deburring the edges of the VS skin.  I used a Vixen file to get the most of the punch tool marks off of the edges.


 Long smooth strokes.  None of that back and forth stuff.  Careful not to scratch skin with the edges of the file.

 How I smooth down the edges of a skin using a Vixen file.

 Part 2 of the video on how to finish the job with the Roloc ripoff tool.

 Removing the blue protective film around the areas that will be riveted or worked on.  No reason to be precise.  Just get it done.  I use a rounded hoop type tip in my old soldering iron.  Did this for the RV-7 and it does help keep things in better shape in the long haul.

This what it looks like once I pull off the strips.

Used a 90° die grinder with a Roloc/Scotchbrite ripoff tool from Harbor Freight.  Used the FINE pad and it worked great for deburring the skin edges.  Just be careful and be mindful of which way the wheel is turning and always tilt it so that the pad is running off the edge of the skin otherwise the wheel can grab the skin and make a big old mess out of it.

 A new to me tool that I am learning to love.  Another video on how I am using it.

Have to mark a few holes that don't get work until the emp fairings go on.

I use a cheap Harbor Freight electric screwdriver with a deburr bit adapter to deburr holes.

 A video for your viewing pleasure on the screwdriver and how I use it.

Next the skeleton comes apart for deburring.

All that work now scattered about the table.

Like magic, the blue stuff is gone!

 Blue stuff!

Deburring the AFT spar.  Keep in mind that this is the FINE grade pad.  It removes very little material but does a dandy job at smoothing and blending edges as long as you don't get to carried away with the pressure and speed.

 Some of the parts have to be done by hand.  Maroon scotch-brite pads for hand work.

Deburring the aft spar doubler.

Another 2.5 hrs of work tonight.

So the family is on vacation next week and there will be no more updates till we return.

Wednesday, August 29, 2018

More tools and an option arrived today.

Got my order from Cleaveland and Brown Tools today.

From Cleaveland I got a special RV-10 bucking bar that is required on the elevators if you don't want to use blind rivets.  Also picked up a new 3/32 close quarter dimple die set and some magic riveters tape. (it really is magic!) and the optional static air port kit.

From Brown I got a couple universal head rivet sets a new #12 piloted countersink bit, a new bag of snap-socs, and 6ea of #27, #16, and #12 clecos for those occasional odd holes that need a clamp.


VS Skeleton and Skin Match Drilling

 Next step on the vertical stabilizer (VS) is to cleco all the ribs and the fwd spar to the aft spar.

 Then match drill everything to everything else.  The long drill bit helps here because of clearance issues with the drill.

Seems there is an issue with the RV-10's where the nose ribs of the VS can cause the skin to have a dimple or a bump sticking out where the nose of the rib gets shoved into the front area of the VS.  To prevent this the directions have you remove a bit of the nose rib and blend the flanges a bit to smooth the transition.  Many have reported doing so and still having issues so I took it all the way to the max with the edge distance of that first hole.

Next remove the blue plastic from the inside of the VS skin.

 Then every hole gets a cleco.  Love my pneumatic cleco tool!

 That is a ton of clecos!

 Next is match drilling the holes in the skin to the holes in the skeleton.  I am using a reamer instead of a drill.  Makes some much nicer and more round holes vs a drill bit.   Drills tend to leave a triangular shaped hole.

 The reamer is the same diameter as a same sized drill bit except it has straight flutes instead of spiral ones and there is no cutting edge on the tip.  The reamer reams only, it does not drill!

 So while this looks like nothing happened between the before and after picture, I actually removed every single cleco one at a time and ran that reamer through the holes.

And I did the other side.  No visual progress but over 2.5 hrs of work!  There are 135 holes on each side of the skin for a total of 270 holes that have been match reamed!

Tuesday, August 28, 2018

Page 6-2 done!

 Step one has you layout some cuts for these VS main spar caps.  You got to cut the long flange and make a left and a right version of the part.

 The brand new band saw and metal cutting blade made quick work of this!  Those spar cap parts are bowed out of the box so I clamped them back to back to make them flat again for the cut.

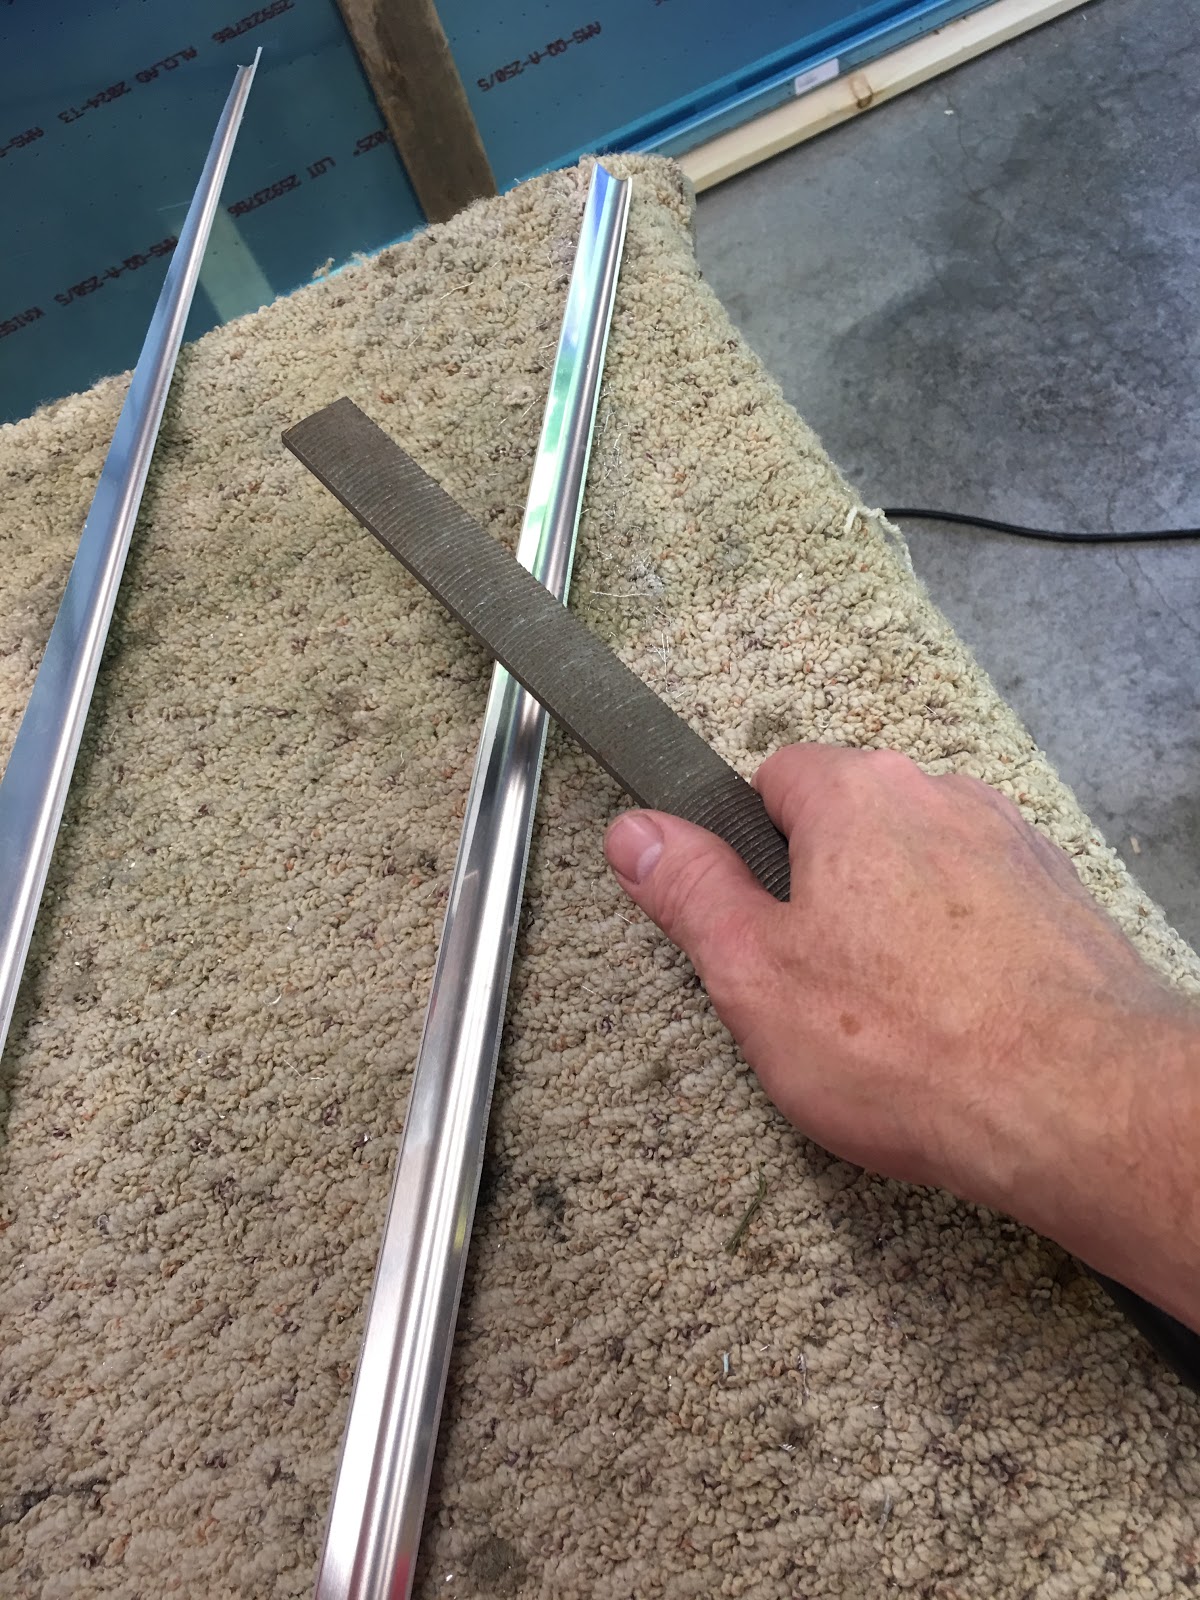
I broke out the Vixen file to make short work of cleaning up the saw cuts.  This file is the bomb when properly used!

 Then to the magic and expensive 3M cut and polish wheel.  I don't know how you could build a metal airplane without one of these!

 Then you have to clamp the spar caps to the Aft spar and they have you do something weird that they never did on the RV-7.  They have you match drill the -4 spar web rivet holes to 1/8" first instead of #30.

 So they have you do this while skipping a few in between.

Then you go back and match drill all the rest of them to 1/8".

Then you get to take out all the clecos and debur the parts you just drilled and clean out the chips.  This is my $8 Harbor Freight electric screwdriver.  Perfect for deburing!  It turns slow!

Then they want you to put the spar caps back in and cleco all the spar web holes you just drilled.

 Next you match drill the spar caps to the aft spar flanges using a #40 drill.  Clecoing as you go.

 Here it is with the spar caps all matched drilled to the aft spar web and flanges.  Next you get to take it all back apart and debur what you just match drilled.


 If you don't have a pneumatic cleco tool, get one!  This thing is a hand saver and works like a dream.  Here is a video for your viewing pleasure.  Keep in mind that this is the first time I have used this thing in almost 9 years so I am a little rusty!  Also realize that these holes are not full size yet!

 Next it is time to debur this aft spar doubler.  These thick parts that are punch with a CNC punch are fairly rough around the edges and must be really worked on.  It took a while with the vixen file to get it cleaned up.

 The outer edges are easy to get with the cut and polish wheel on the grinder.  When you run the parts with the grain, you can get a mirror smooth finish out of this thing.  Hard to keep the wheel face flat when you do that however.

Lots of time working on the inside cutouts with various files.  Don't need any stress risers in here that is for sure!

Next they have you cleco on the doubler along with the steel hinge brackets for the rudder.

 The steel hinge brackets are powder coated.  There is a doubler that goes on the fwd side of the aft spar at the top hinge bracket location.

 Then they want you to finally match drill all the -4 rivet holes to #30.  I have decided to try using reamers for as much of the match drilling as possible.  This was my first attempt at this and it went great!  The reamer seems to leave a much nicer hole vs the drill bit.  Nice and round!  I am gonna love these things depending on how fast they get dull or break!  I used the battery drill for this because I want to turn the reamer slow.  I took extra care when reaming the steel bearing brackets.

No picture but they have you match drill the 3/16" upper attach bolt holes thru the spar doubler and the aft spar web.  It gets drilled to final size during the mounting process.  Easy peasy!

The last step on the page is to machine counter sink the -4 rivet holes on the fwd side of the aft spar below the 3/16" upper attach bolt holes.  This is so the VS spar sits flush with the aft bulkhead of the tailcone.

 My wife decided to take pictures of me finishing the countersinks.

 I guess when you work from home in your garage you can wear whatever is comfortable right?

Here I am holding the fruits of my 4.25 hrs work of work!

Monday, August 27, 2018

Emp kit at home, Damage Assessment & Inventory


So it was easy peasy to transport the kit from my work to my house which is only 6 minutes away!


My uncle, my wife, and I slid the crate out and onto the floor.


I was anxious to get the crate open and look for hidden damage due to the outside of the crate being obviously damaged.   Typical Van's, they do an awesome job of packing these kits.  Tons of packing paper!


My wife loves to get me bent over working in awkward positions!

 So far so good.  Amazed that there is no damage yet.  Also amazed at the amount and the strength of the duck tape that Van's uses to pack these kits.  It is almost impossible to pull apart.  Ends up ripping up much of the blue film protecting the parts.  Seems like they are using much more now than what they did with my RV-7 build.

Still going!  There is a ton of parts crammed in there everywhere!
Using all the horizontal space I have in the garage to store the parts as they come out of the crate.  These still have to be unwrapped and inventoried.

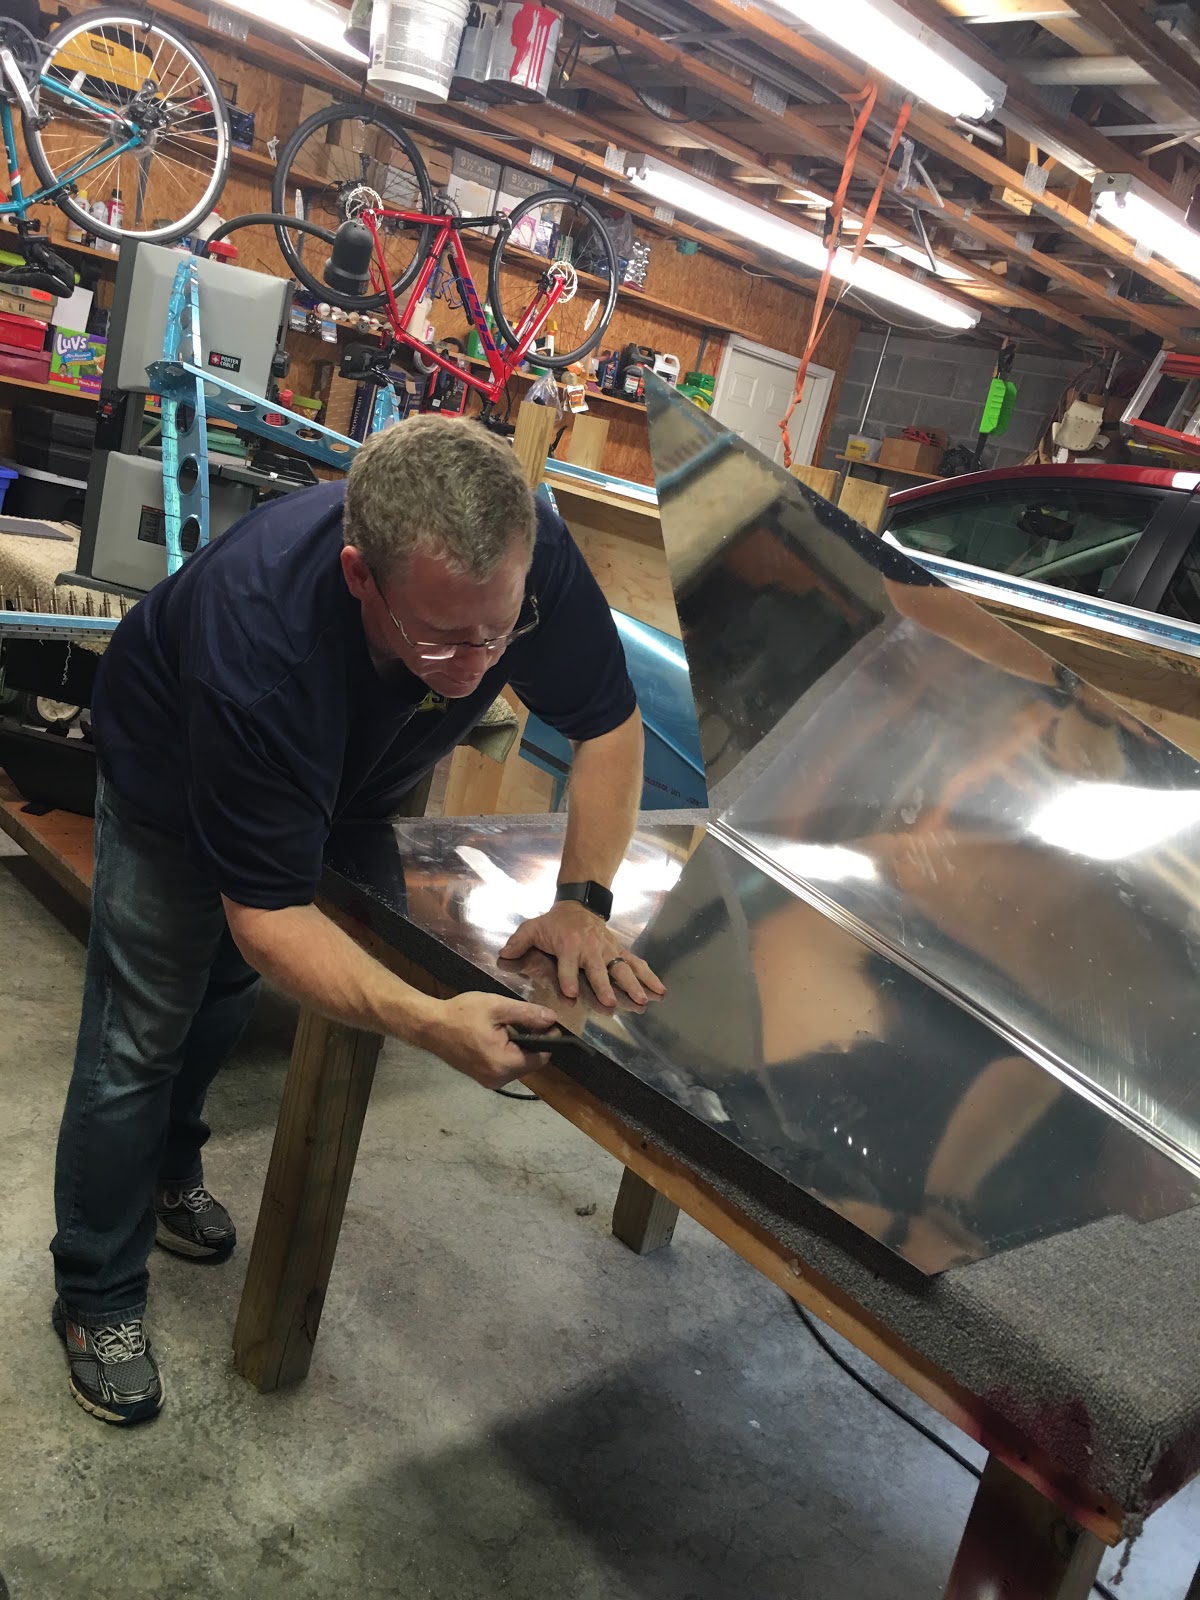
 Found my first sign of damage with the F-1073-L which is one of the tailcone side skins.  I am not sure this damage was caused by ABF since it is on the side of the crate with no external damage.  This looks like it was damaged at Van's before it went into the crate.

No big deal though.  I was able to use my sheet metal skills to slowly work out that dent and now you can't hardly tell it was ever there.  No sense going thru all the pain and agony of dealing with getting a replacement for something that I can fix myself for nothing but a little time.  The crate alone to ship a new one would cost Van's a ton not to mention the shipping.   I am all about helping Van's keep their cost down which helps builders keep theirs down as well!

 Shantel helped me do the inventory and we banged it out fast!
 Tons of sub kits or packages of parts that are grouped together.  Amazing how once you cut the shrink wrap how the parts seem to multiply!  They sure know how to nest the parts!


Paper and more paper.  I filled up 3 large trash bags full of paper!
 
 I modified the crate to store the skins.  I need to keep space available so my wife can park her van in the garage.  This was the best I could come up with.


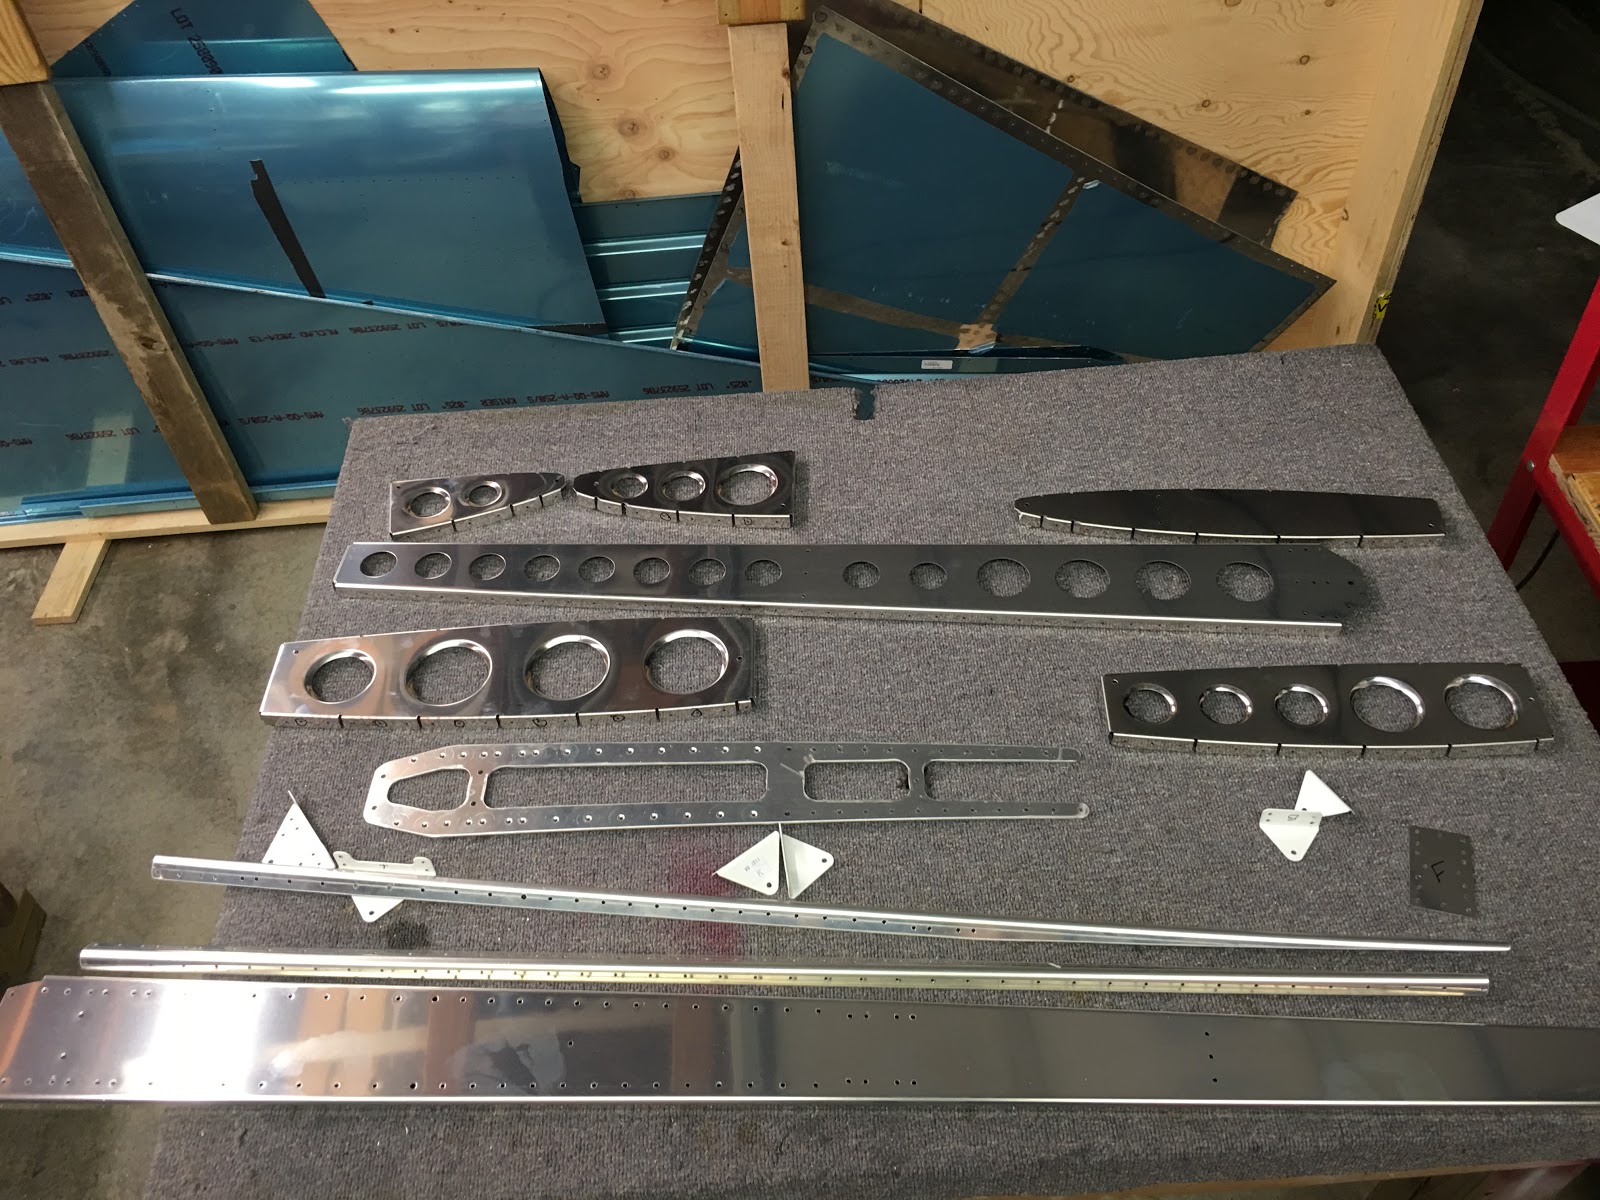
Those sub kits explode into many many many piles of parts!


 More parts!


Even more parts!  These are some long parts!  I am amazed at how much bigger everything is vs the RV-7 I built.  The tailcone side skins alone are almost as long as the RV-7's entire fuse.  I can see why this kit is so much more expensive than the RV-7 emp kit.  This thing has a ton more parts!


 More parts and some extra sheet stock that Van's provides.


Inventory complete!  I was only missing 2 parts!  The WD-415 elevator trim anchor brackets!  Amazing that Van's can pack and ship all this stuff and only miss 2 parts (2 of the same thing)!


Let the fun begin!  Step one..... Nice touch that Van's provides a cover for the plans!