Saturday, October 13, 2018

Pushing thru on a sad day!

With the news of the tragic crash and death of my friend Jon Thocker, I decided to keep busy and work on the plane to keep my mind off of that.  Yeah right!

I did manage to get some stuff done however.

 Started by dimpling the nose ribs.  The ones marked don't get dimpled since they are holes that will get a nut-plate eventually to attach the emp. fairing.

 Then I dimpled the inspar ribs.  The little offset tabs don't get dimpled since they sit behind countersunk spar webs/caps or stringers.

 Then I squeezed the rivets that hold the stringer web to the inside inspar ribs.

 Then I riveted the two parts of the stringers together using the squeezer.  Made two stringer assemblies.

 Then I riveted the stringers to the stringer web.  Did most of the rivets with the squeezer.

 The two rivets in the corners on each side can't be squeezed or at least they can't with the squeezer/yokes I have so I shot these with the rivet gun and the tungsten bucking bar.

Then I accomplished the easiest step in the build so far.   I snapped in two bushings.  Whew!  That was rough!  NOT!

 Then I cleco'ed the rest of the ribs (with the exception of the outer most two on each side) and the stringer sub assembly to the front spar.

 Then I squeezed the rivets on these out board inspar ribs that only have three rivets.

 Next was squeezing the inspar ribs with four rivets that have different length rivets due to two of them passing thru the spar caps and two that don't.  Did the outboard ones first.  Then I did the inboard ones.  Due to squeezer/yoke/set geometry, I put the two outboard ones in one direction and the two inboard ones in the other.  Whatever works and produces the best looking results.

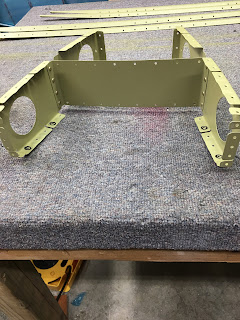
Here is the front spar all attached to the inspar ribs/stringer assembly.

I am on a business trip till Wednesday so see you on Thursday!

Tragedy strikes...

I woke this morning to hear that my good friend Jon Thocker, Redline Airshow's #2 has died in an airshow performance crash last night in Culpeper, Va.

Jon was a class act!  He was a great friend and an ambassador to our hobby.  He will be missed!

Needless to say this has taken some wind from my sail today.  I have to go on a business trip Sunday so I may not get much done on the HS.


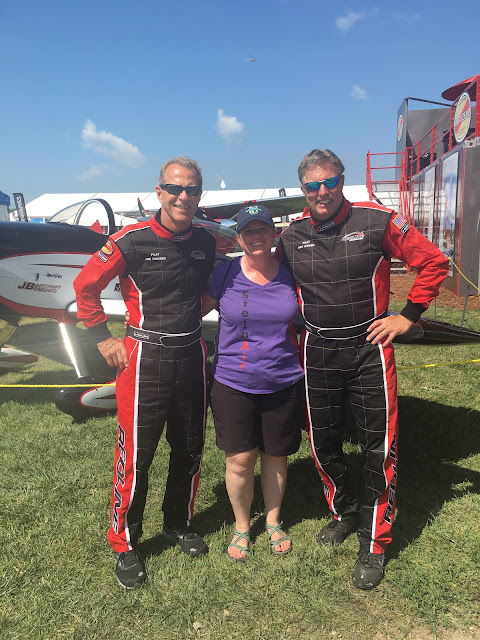
Jon on the left with my goofy looking self.

Shantel enjoying Jon and Ken a little too much!

Friday, October 12, 2018

Primed Horizontal Stabilizer Parts

Scrubbed everything with Bon Ami and maroon scotchbrite and then after drying, primed with AKZO.

Parts drying....tick tock!
All primed and ready for assembly!

Thursday, October 11, 2018

Horizontal Stabilizer..Even more deburring!

 Started tonight by deburring all the inspar ribs.  There are a pile of them!

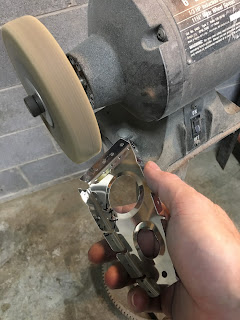
After the wheel, I hand finish them with various tools.  Files, emory cloth, die grinder and 3M wheels, etc.

Then I started deburring all of the holes in the skins.  This took forever!

There are approximately 940ea #40 holes in the HS.  Each hole has to be deburred on both sides of the hole.  Also each hole joins with at least 1 more part with another hole that must be deburred on both sides of the hole.

Bottom line is that there are approximately 3,760 #40 hole edges in the HS to deburr!

Tomorrow I should be able to scrub everything and get it primed.  Might get to do some final assembly on Saturday.

Wednesday, October 10, 2018

Horizontal Stabilizer...more deburring

Only a short time to work tonight.  Finished the spar flange countersinking on the rear spar...  all done with that.

Deburring the backside of the rear spar flange holes.

Cleaned up all the edges of the stringer parts.

Deburred all the edges of the stringer web.

Started deburring the nose ribs.  Just the first steps in the process with the big wheel.

That’s all!

Tuesday, October 9, 2018

Horizontal Stabilizer Pull apart and start deburring....

Started tonight by blowing the HS apart.  It took over an hour to pull all the cleco’s out and disassemble.

One side done, rear spar pulled out.

Front spar and inspar ribs pulled out.

Deburring all the part’s holes.  Tons of holes and got sides have to be deburred.

Skins all ready for deburring.

This pile of parts has had the holes deburred.  That was a bunch of holes!

Next I countersunk the #40 holes in the stringers.  These will receive a dimpled skin.  Countersunk 0.007” deeper than flush per the directions.

Then I countersunk the front spar flanges.  These will also receive dimpled skins.  0.007” deeper than flush again.

Tons of time tonight doing mind numbing repetitive work.  


Monday, October 8, 2018

HS skin to skeleton match reaming!

 First I match reamed all the #30 holes of the rear spar to the inspar ribs.

 Then I got started match reaming all of the #40 holes for the skin to both spar flanges, inspar ribs, tip-ribs, and stringers.  There are somewhere near 940ea #40 holes to ream!  Got em done!

 I remembered I had this electric pencil from my RV-7 build.  Brought it home from the hangar.  Should make it easier to mark parts and the marks make it thru the primer prep process.

Finally I angle drilled the stringers to the stringer web and the stringer web to the inspar ribs.  That is a ton of holes all match drilled/reamed for tonight.  My hands are sore and tired!