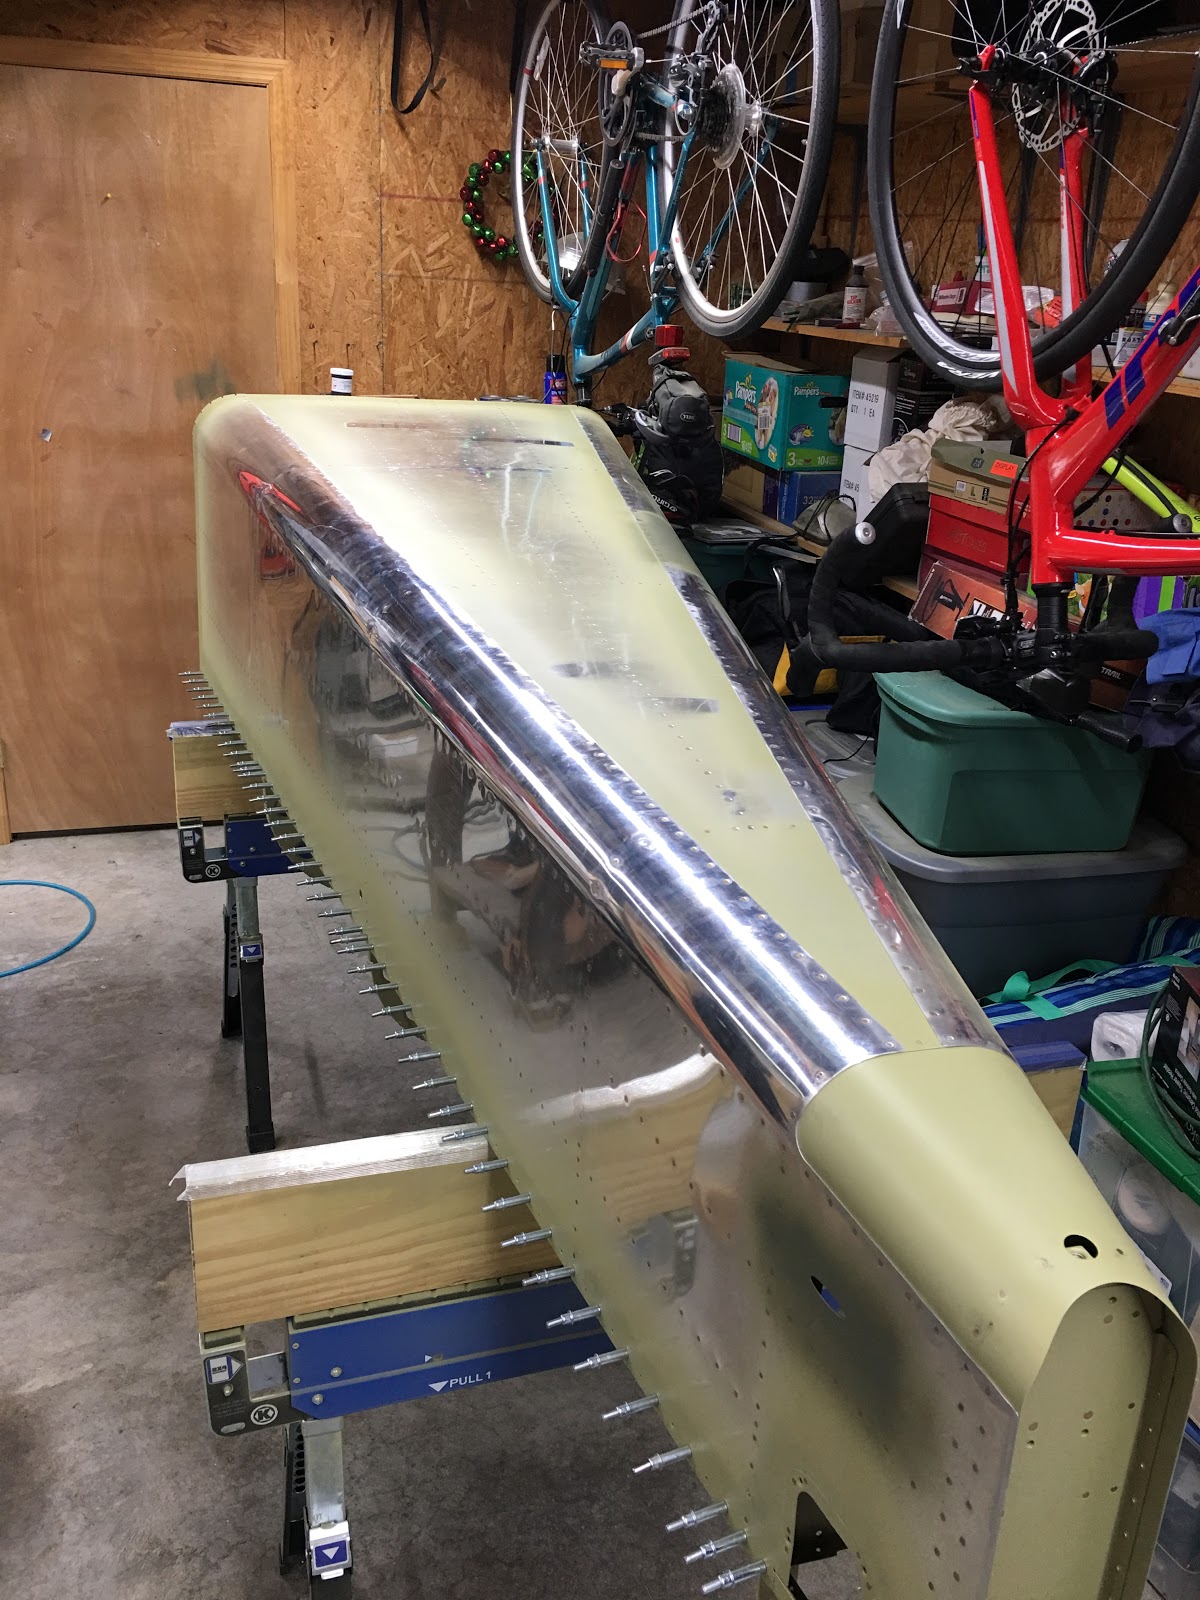
Saturday, May 4, 2019

Tail Cone Riveting Part #8

I filled the bottom of the tailcone with some rigid foam that I had laying around to be able to crawl in there without damaging the parts.

 Since the bottom of the tailcone is not exactly flat, I placed the whole thing on the floor on top of another 3/4" piece of rigid foam.  This all worked very well!


 I bucked and my uncle ran the gun.

 All done!


I then crawled inside and installed the seat belt anchor point brackets.


Finally I bolted together the elevator bellcrank to the battery box/bellcrank mount.  The bolts called out are -5 in length which seem a bit long.  A -4 would work better.

Tuesday, April 23, 2019

Tail Cone Riveting Part #7

 Got started tonight by finishing up the aft deck area with the hardware.  I put all the hardware in but did not torque any of it.  Some of the bolts are a little short for my taste so I will either change them to the next size longer or go with thin washers where full thickness ones are called out in the plans.

This support brace had to be match drilled with the HS stab rear spar mount bars that have a pre-punched hole in them.  They have you temporarily bolt the brace down to the aft deck then match drill the hole with a 1/8" bit then drill it up to a #12.   I used a 12" bit to drill the 1/8" hole but I had to use my angle drill adapter to drill it up to #12 due to clearance issues with the drill motor.  I have a 12" #12 bit ordered so I don't have to worry about that in the future.  I know I will need it when I go to mount the HS front spar mounts to the aft deck.  Anyway I got all of the drilling complete then removed it all, deburred the holes and then touched up the primer with rattle can stuff over the AKZO.  That is why this part is darker green.  I then proceeded to rivet the brace and the doubler in place.  These rivets are not the easiest to drive due to the weird positions you have to get into to get them.  I got through it and was happy with the results.  Then the bolts go in.   Again I did not torque anything yet.

 Same area on the other side.  Those small 470AD3 rivets are a little too short but that is the longest ones Van's provides and I don't have any others.  The two green stripes are where I touched up scratches made by my angle drill adaptor.

Bolts also go into the elevator stop brace.

 This is the underside of the HS front spar mounting area/bulkhead on the co-pilot side.  I like a few more threads than this showing so I will likely change these to longer at final assembly time.

  This is the underside of the HS front spar mounting area/bulkhead on the co-pilot side.  I like a few more threads than this showing so I will likely change these to longer at final assembly time.

 This is the HS rear spar mounting area with the vertical mounting bars.  Pilot's side.  These are a good length.

  This is the HS rear spar mounting area with the vertical mounting bars.  Co-pilot's side.  These are a good length.

 This is the bolt at the elevator stop/brace, co-pilot's side.  Again a little short for me.

  This is the bolt at the elevator stop/brace, pilot's side.  Again a little short for me.

 I then cleco'ed the aft top skin onto the tailcone to get ready to rivet it on for good.


Monday, April 22, 2019

Tail Cone Riveting Part #6

Starting to see the light at the end of the tunnel for riveting this tail cone together.....

Tonight I got started by riveting the side skins to the longerons in the area under the aft deck.  Left out the rivets for the emp fairing attach screw holes.

Then I cleco'ed the entire aft deck to the tail cone with cleco's in every hole for good alignment and no twisting.

Next I started riveting parts for good.  Started in the back.

 Then riveted the elevator stop brace.

And then riveted the aft deck to the longerons.  Skipped the area called out in the plans around the HS attach bars.  Finally I rived the aft most top bulkhead to the deck.

I used a combination of longeron yoke and 4" no hole yoke and the squeezer to rivet most of these rivets.  A few had to be bucked.  I wish I had a 3" regular yoke!  My longeron yoke is 2.5" and my larger regular yoke is also 2.5".  A 3" would allow more access.  I don't like to use the 4" no hole yoke on 1/8" rivets due to the springiness of it.  You have to be super careful to align it very well to prevent tippers.

Friday, April 19, 2019

Tail Cone Riveting Part #5

Got started today with riveting the bottom of the tail cone.
My uncle Al helped me with this.  He was outside driving while I was inside bucking.


Fairly straight forward riveting.  The aft most bulkheads required some weird positions and sometimes the rivets are hidden behind stiffeners which requires some bucking bar gymnastics.


My uncle has arthritis so we got my youngest daughter out there to help us put rivets in the holes after she got home from school.   This sped things up drastically!


All done!

I then riveted the aft side of the battery/bellcrank ribs to the bulkhead.  This is where I deviated from the plans and used the RV14 Yaw Damper mount which had to be modified.  I chose to use a nutplate here to make the damper mount removable and here it is all riveted to the assembly.


Tuesday, April 16, 2019

Tail Cone Riveting Part #4

 Riveted the next bulkhead fwd on the pilot side.

 Then the next one...

Then the next one...


Then the last one..

Then I went back and riveted as many of the lower stiffeners as I could with my short arms.


Then started on the front end back.

Then I did the same on the other side.

Working my way down the line.

And more...

Eventually I ended up getting this whole side done!


So I went back and finished the ones I left on the other side.  Have no idea why I was able to get them the second time but not the first.

So I flipped the tail cone over and will be riveting the bottom with assistance next.....