Tonight I gathered up all the J Stiffeners and went to work deburring them.
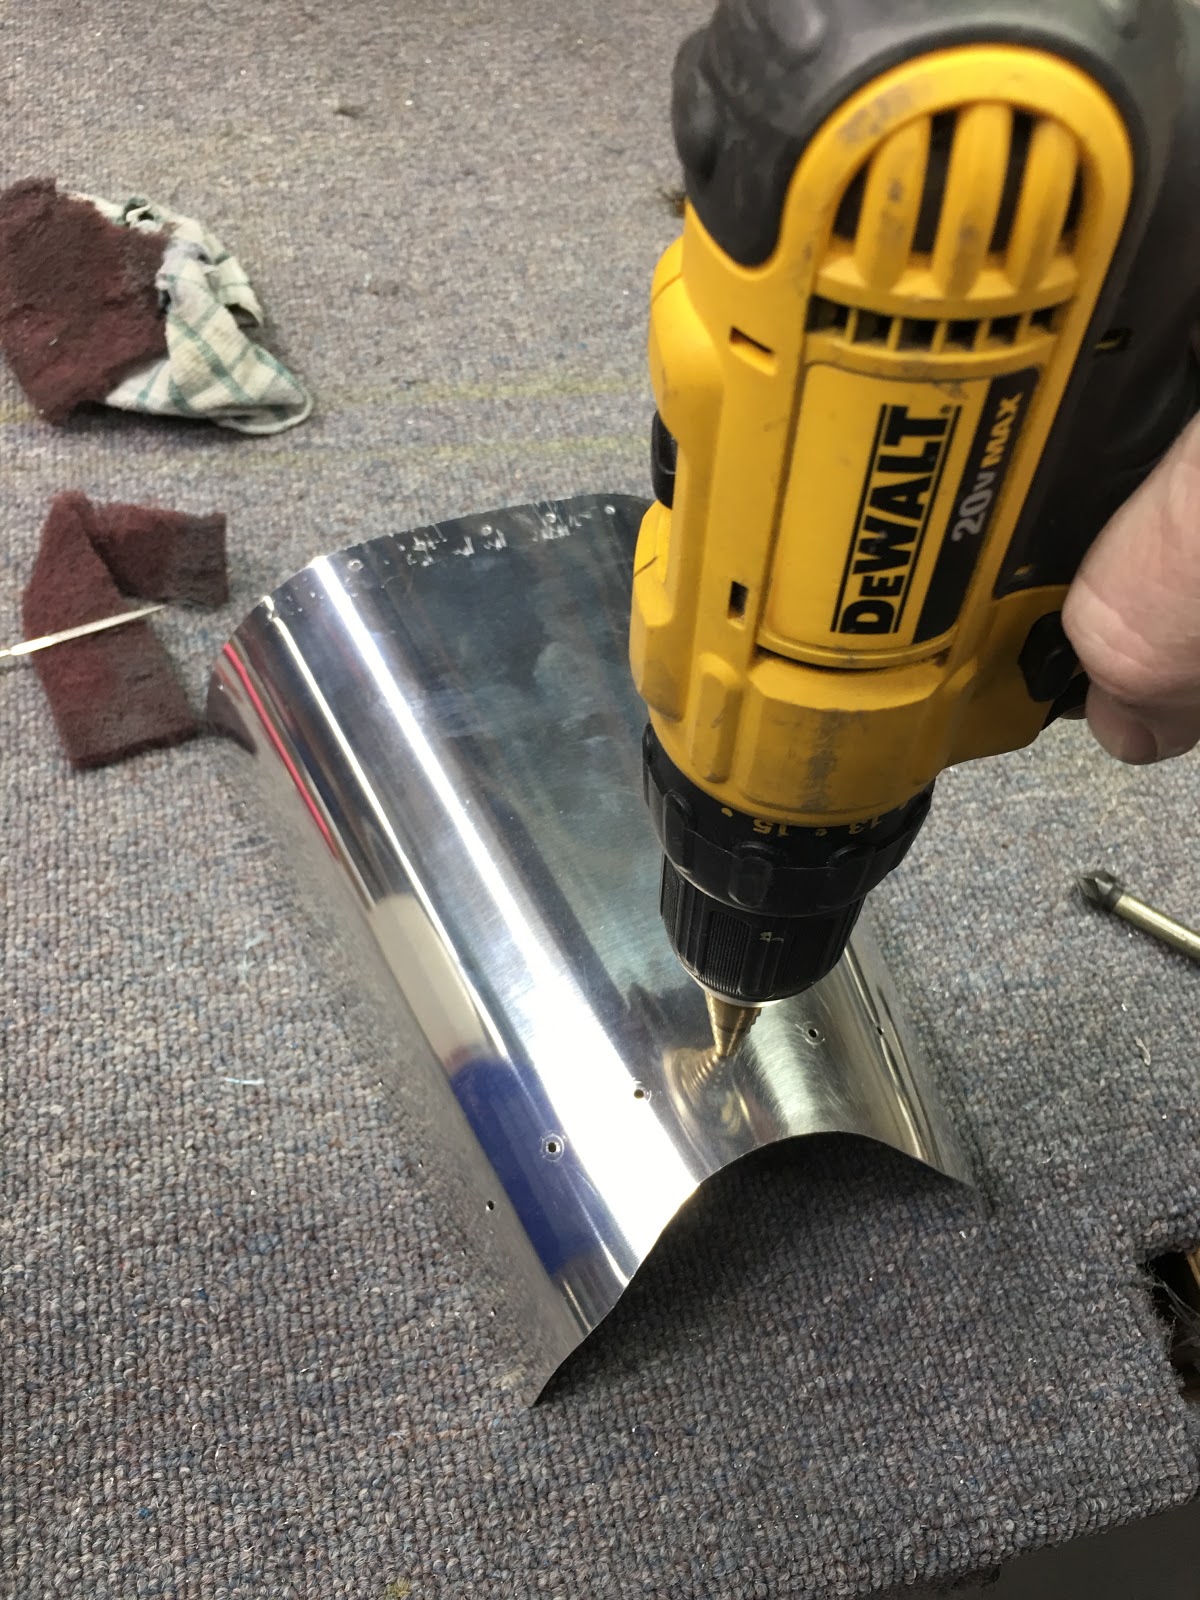
First I used the EZ-Burr tool to deburr all the holes.
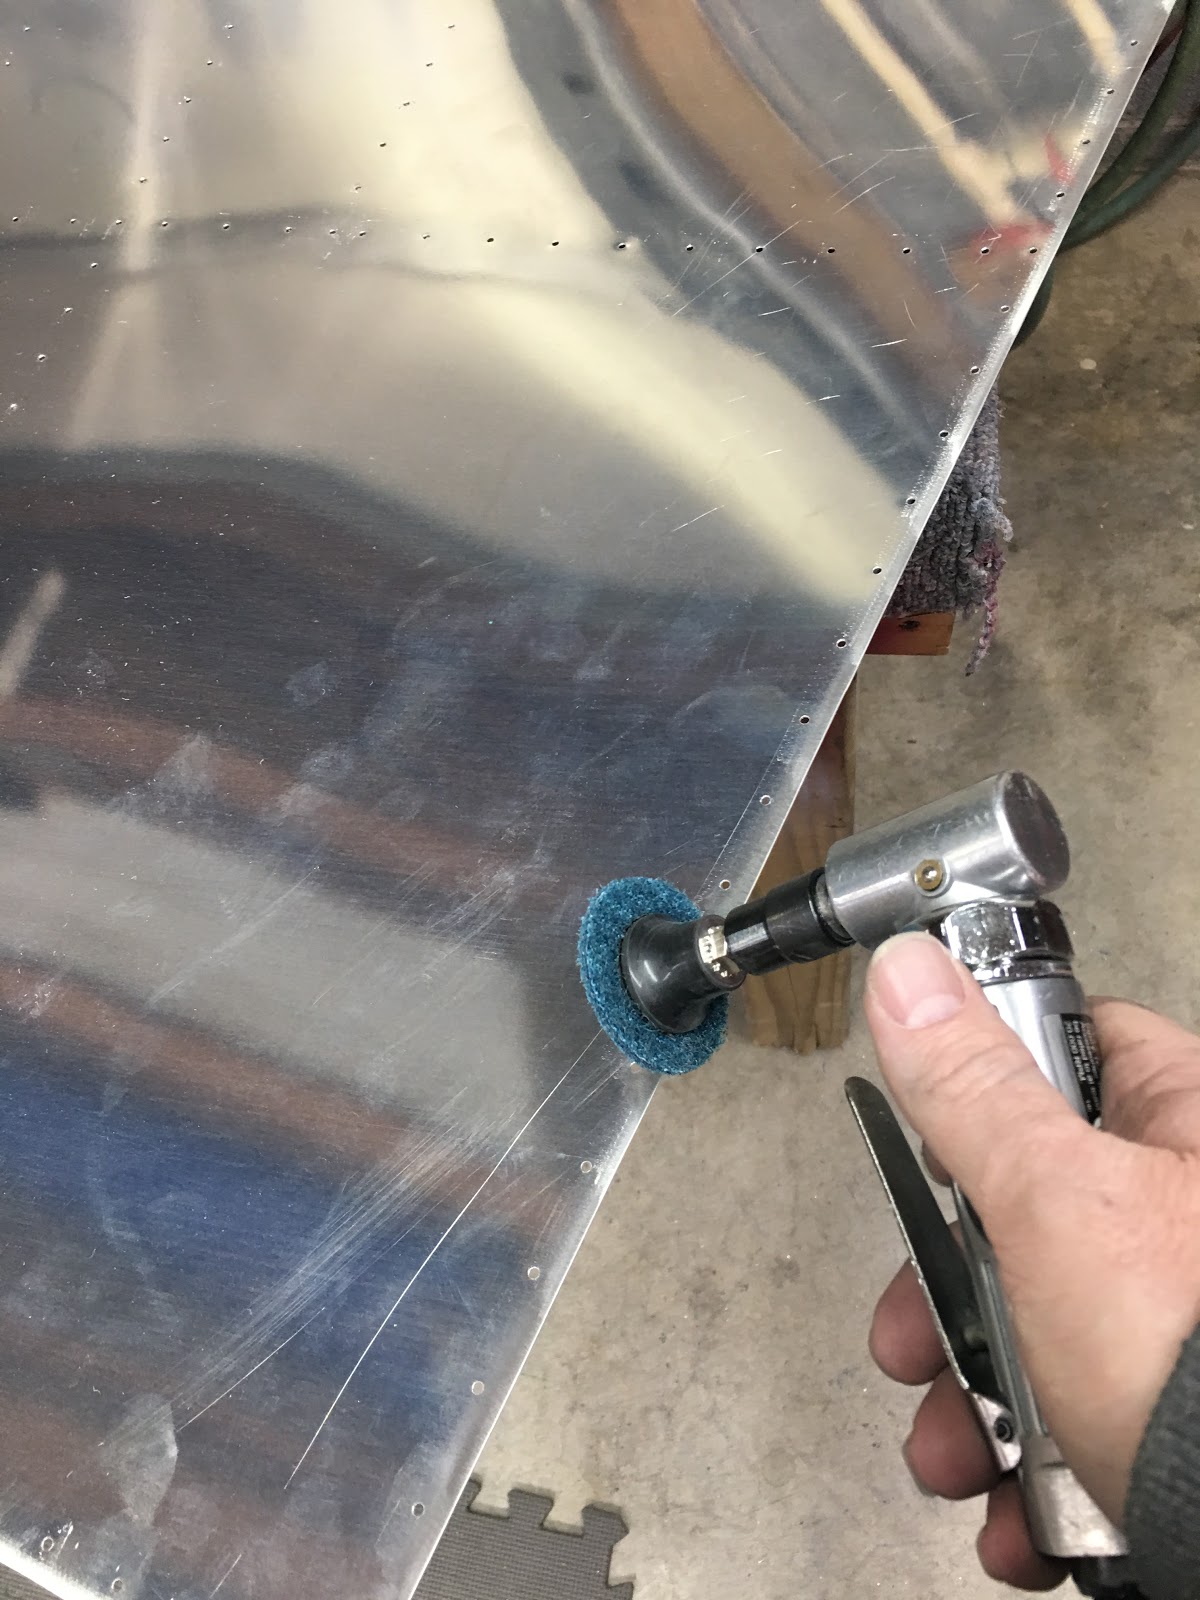
Then I used the large Scotchbrite wheel to round the corners and to deburr the edges of the stiffeners.
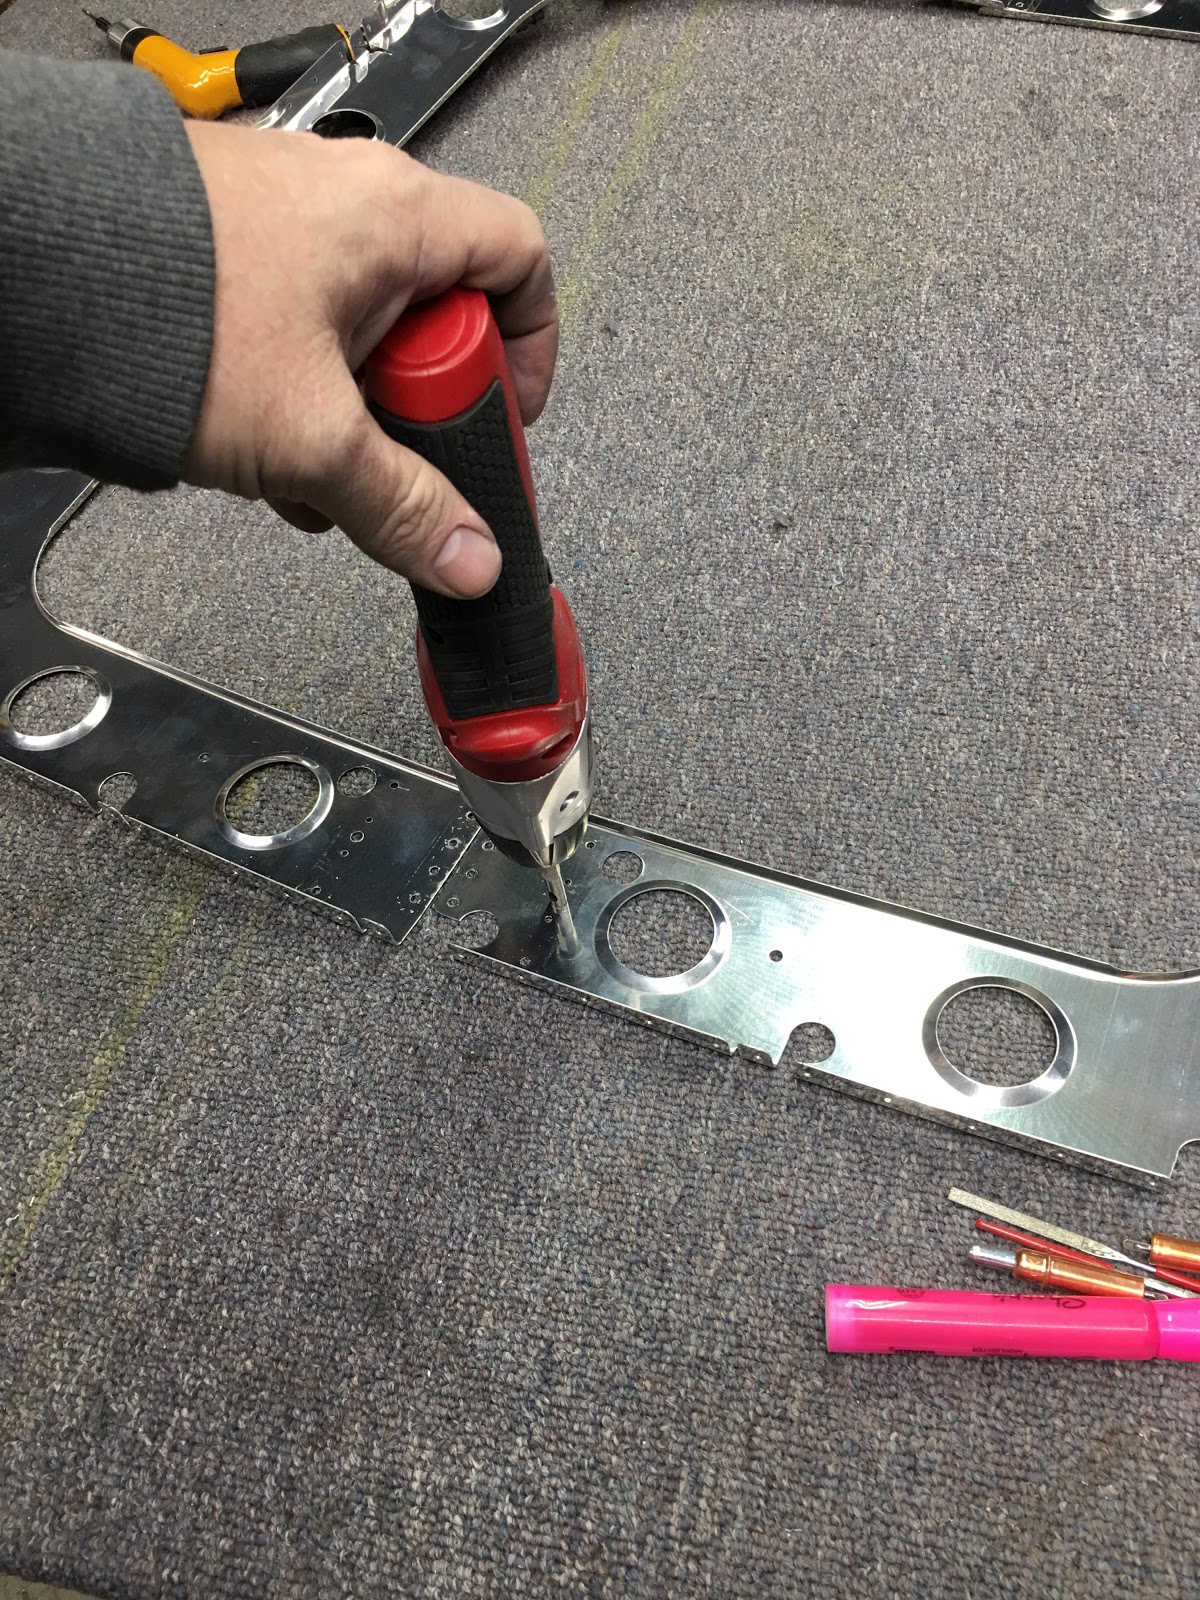
Next I deburred all of the backsides of the longeron holes for the skins. No need to deburr the other side because they get countersunk. I also deburred all the other holes in the longerons like the ones for the aft deck and the seatbelt attach point.
Next I marked the longerons for the holes that do not get countersunk. This is a bit of a brain teaser so pay close attention to the drawing and count the holes! The aft most set of rivets shown on the plans go into the aft most bulkhead not the longerons so take that into consideration when counting!
Next I used the countersink tool to countersink all of the longeron to skin rivet holes with the exception of those marked above. That was a bunch of countersinking! My floor is full of chips!