Step one has you layout some cuts for these VS main spar caps. You got to cut the long flange and make a left and a right version of the part.
The brand new band saw and metal cutting blade made quick work of this! Those spar cap parts are bowed out of the box so I clamped them back to back to make them flat again for the cut.
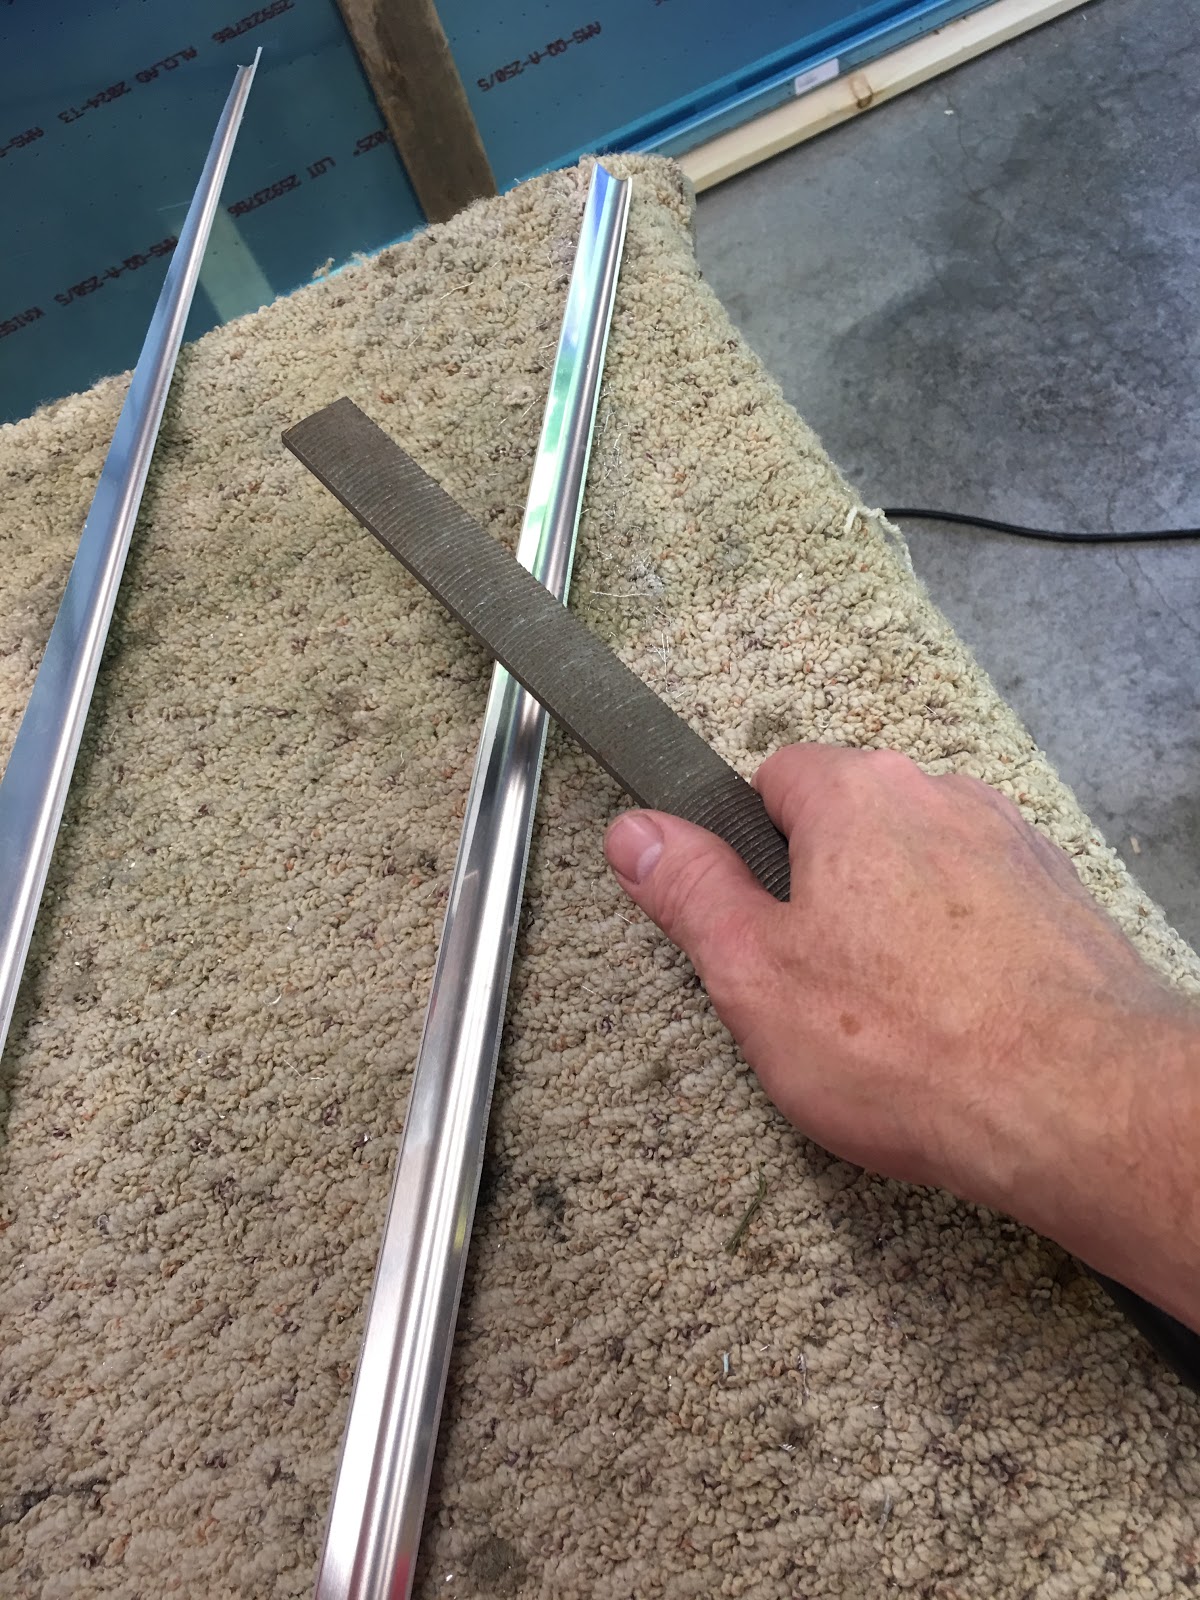
I broke out the Vixen file to make short work of cleaning up the saw cuts. This file is the bomb when properly used!
Then to the magic and expensive 3M cut and polish wheel. I don't know how you could build a metal airplane without one of these!
Then you have to clamp the spar caps to the Aft spar and they have you do something weird that they never did on the RV-7. They have you match drill the -4 spar web rivet holes to 1/8" first instead of #30.
So they have you do this while skipping a few in between.
Then you go back and match drill all the rest of them to 1/8".
Then you get to take out all the clecos and debur the parts you just drilled and clean out the chips. This is my $8 Harbor Freight electric screwdriver. Perfect for deburing! It turns slow!
Then they want you to put the spar caps back in and cleco all the spar web holes you just drilled.
Next you match drill the spar caps to the aft spar flanges using a #40 drill. Clecoing as you go.
Here it is with the spar caps all matched drilled to the aft spar web and flanges. Next you get to take it all back apart and debur what you just match drilled.
If you don't have a pneumatic cleco tool, get one! This thing is a hand saver and works like a dream. Here is a video for your viewing pleasure. Keep in mind that this is the first time I have used this thing in almost 9 years so I am a little rusty! Also realize that these holes are not full size yet!
Next it is time to debur this aft spar doubler. These thick parts that are punch with a CNC punch are fairly rough around the edges and must be really worked on. It took a while with the vixen file to get it cleaned up.
The outer edges are easy to get with the cut and polish wheel on the grinder. When you run the parts with the grain, you can get a mirror smooth finish out of this thing. Hard to keep the wheel face flat when you do that however.
Lots of time working on the inside cutouts with various files. Don't need any stress risers in here that is for sure!
Next they have you cleco on the doubler along with the steel hinge brackets for the rudder.
The steel hinge brackets are powder coated. There is a doubler that goes on the fwd side of the aft spar at the top hinge bracket location.
Then they want you to finally match drill all the -4 rivet holes to #30. I have decided to try using reamers for as much of the match drilling as possible. This was my first attempt at this and it went great! The reamer seems to leave a much nicer hole vs the drill bit. Nice and round! I am gonna love these things depending on how fast they get dull or break! I used the battery drill for this because I want to turn the reamer slow. I took extra care when reaming the steel bearing brackets.
No picture but they have you match drill the 3/16" upper attach bolt holes thru the spar doubler and the aft spar web. It gets drilled to final size during the mounting process. Easy peasy!
The last step on the page is to machine counter sink the -4 rivet holes on the fwd side of the aft spar below the 3/16" upper attach bolt holes. This is so the VS spar sits flush with the aft bulkhead of the tailcone.
My wife decided to take pictures of me finishing the countersinks.
I guess when you work from home in your garage you can wear whatever is comfortable right?
Here I am holding the fruits of my 4.25 hrs work of work!


No comments:
Post a Comment