Showing posts with label Options. Show all posts

Wednesday, July 10, 2019

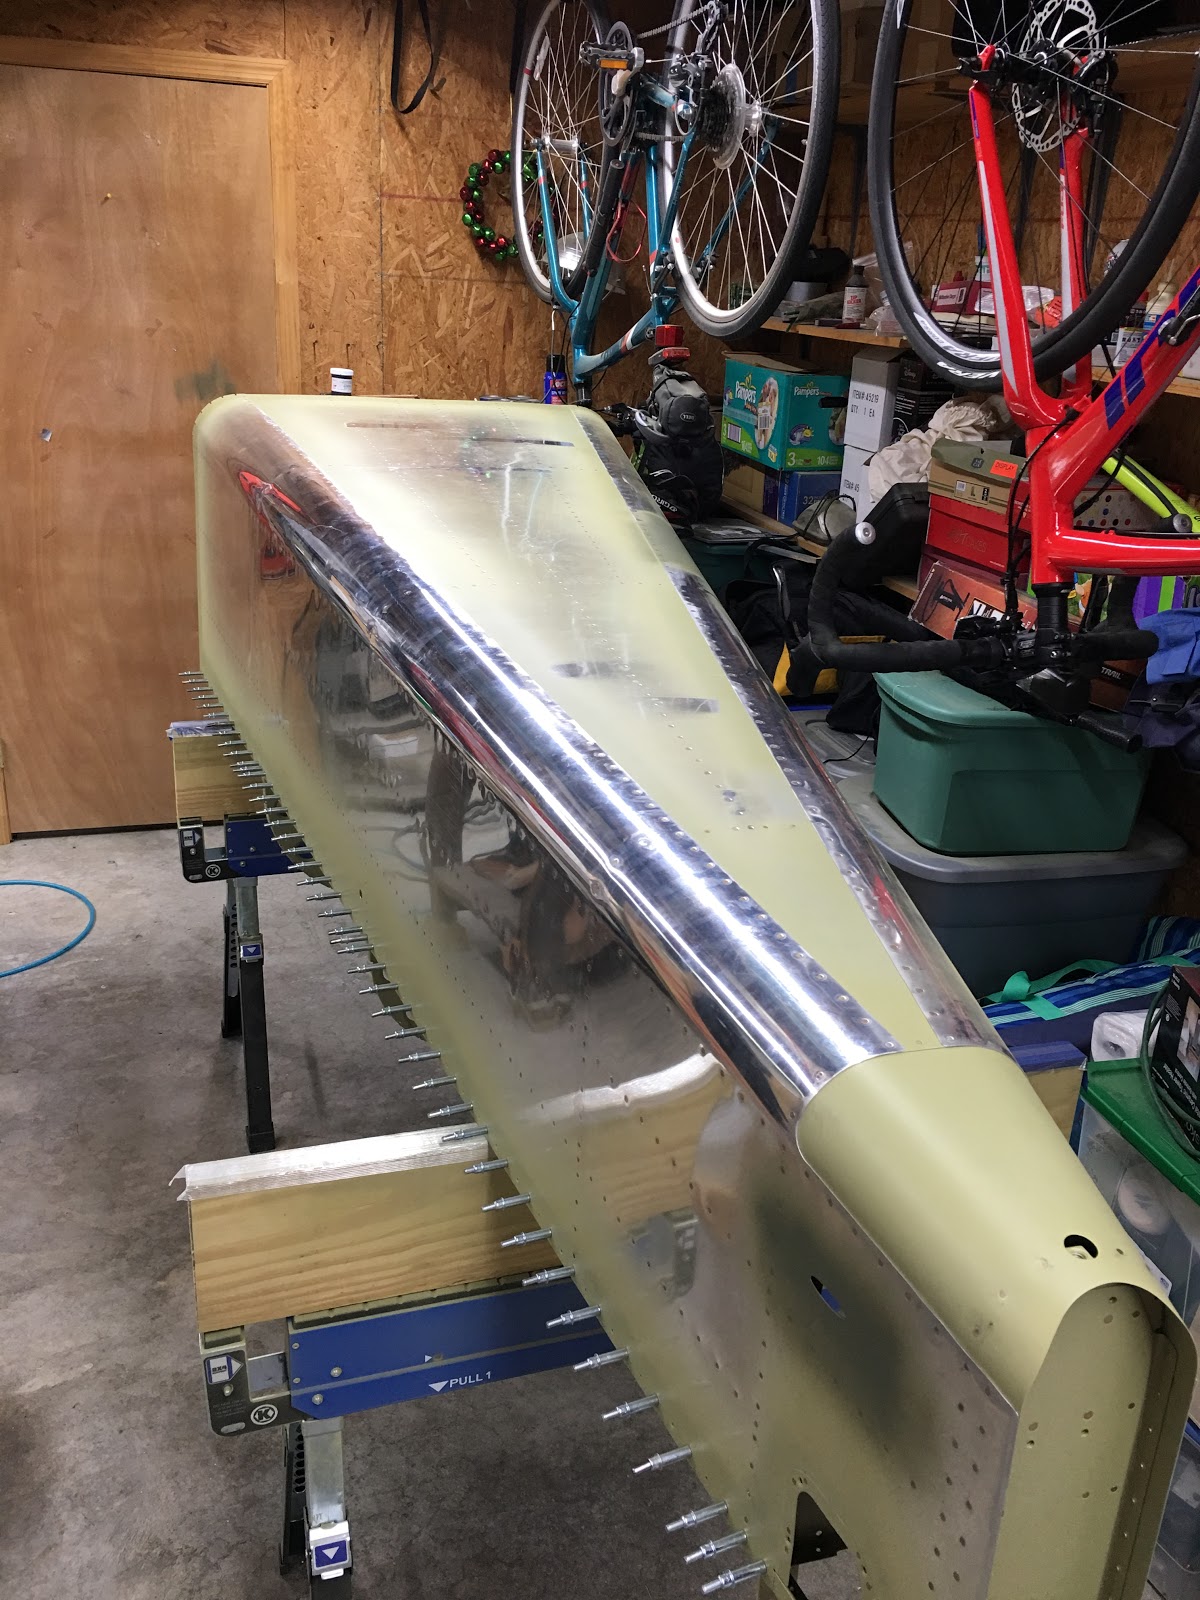
Wings have arrived!

So the wings finally arrived.  Vans missed their lead time and projection a little bit and it took a few extra days for ABF to decide to deliver my kit so this added up to about 3 extra weeks I was not expecting for lead time.

ABF canceled delivery three days in a row and ended up delivering my kit at about 7PM on a day where they claimed the delivery would take place between 9-5. 

When the truck finally arrived, I found that the spar box was in great shape but the other crate was busted open, missing part of the lid, bottom panel pulled loose, two metal bands missing, and the skids on the bottom broken off.


Thanks ABF!  You are now officially 0 for 3 kits (RV7 kits included) that you managed to deliver to be without severely damaging the crate!

 At first I figured there was no way that the contents would be intact and or not damaged.  Much to my surprise it appears that everything is still in there!  I have to do a complete inventory to be sure but it is looking good so far.


 Those beautiful spars are like airplane porn!


After pulling everything out and getting a look at it, all the parts seem to be undamaged.  The skins are OK  and while I still need to do a complete inventory to make sure nothing fell out, it looks like I got lucky!

Friday, April 19, 2019

Tail Cone Riveting Part #5

Got started today with riveting the bottom of the tail cone.
My uncle Al helped me with this.  He was outside driving while I was inside bucking.


Fairly straight forward riveting.  The aft most bulkheads required some weird positions and sometimes the rivets are hidden behind stiffeners which requires some bucking bar gymnastics.


My uncle has arthritis so we got my youngest daughter out there to help us put rivets in the holes after she got home from school.   This sped things up drastically!


All done!

I then riveted the aft side of the battery/bellcrank ribs to the bulkhead.  This is where I deviated from the plans and used the RV14 Yaw Damper mount which had to be modified.  I chose to use a nutplate here to make the damper mount removable and here it is all riveted to the assembly.


Wednesday, April 10, 2019

Almost Forgot...I Ordered Wing Kit!

I almost forgot.... On Wednesday April 3rd, 2019 I ordered the slow build wing kit from Van's.  😊

It is scheduled to be crated the middle of June so hopefully I will have it by the end of June.

I ordered the optional electric aileron trim servo kit and the not so optional but listed as optional fuel level senders. 

Monday, April 8, 2019

Final Tail Cone Dimpling And Started Riveting

 Got started tonight by dimpling the #30 holes on the forward most bulkhead.  This is so it will be flush to receive the baggage compartment panels.

 Then I dimpled all the bulkhead flanges except for the ones that go behind the longerons.


 Then I riveted the elevator bellcrank together.

 I alternated the rivets on the bearing.  Not required but I did it that way.

 Snapped the battery tray end parts together.  I did not rivet yet because I need to rivet my avionics trays to them first.

 Then I riveted this bulkhead.  Used a squeezer for all.


Then I riveted this bulkhead together.  Again all squeezer.


Then I riveted this bulkhead together.  I put flush rivets in the area under the Yaw Damper servo mount bracket so that it can sit flush.


And then finally I riveted the top parts of the fwd most bulkhead together.  The rest gets riveted together when the tail cone is joined to the fuse.

Saturday, April 6, 2019

Final Tail Cone Priming

Primed the rest of the tail cone parts and the avionics shelves that I built.  Glad to that is over!  Priming = easy.......  Prep for primer = hard!


Wednesday, March 20, 2019

Yaw Damper Servo Mount

I ordered 200 more 3/32 cleco's from Vans.  Getting a few with each order so I can have plenty for the wings.  I now have ~1050ea 3/32 cleco's!


NOTE: The following is a spin off the plans and into experimental world.  Garmin makes an install kit for both the Pitch and the Yaw Damper servos.  Just buy them for a simple care-free install.

So I wanted to make sure I put in the provisions for the pitch servo and the yaw damper servo now while the tail cone is wide open and easy to work with.  The pitch servo bracket is a no brainer, bolt in place bracket I purchased from Van's.  The yaw damper servo mount kit I also purchased from Van's however it is designed for the RV-14 and not the RV-10.  The good news is that most of it fits right out of the gate.  The support bracket that ties the mount to the bulkhead is where things go off plans and must be dealt with....

To give context, here is what the assembly should look like when installed on a RV-14:


And here is how all the parts go together on a RV-14:


The problem is that the bracket does not align like that on the RV-10.  The bulkhead holes are pre-drilled in a different configuration which leaves things looking like this:

Photo by Parish Moffitt
Notice the holes in the top and bottom of the bracket do not align with the prepunched holes in the bulkhead.  Also notice the center hole is not concentric with the larger hole prepunched in the bracket.

To fix this I did something very similar to what Caleb Tennis posted he did on VAF with this post:


First I fabbed up these doubler plates that will sit on the aft faces of the brackets mount ears to cover that larger pre-drilled hole in the center of the bracket's ears.


 Next I noticed that when everything is cleco'ed into place, there is a pretty good sized gap between the bracket and the bulkhead.  I do not want to just force everything together so I will make a spacer for this issue.


 Next I match drilled the mounting ear doubler plates to the bracket's mounting ears.  Then I countersunk the fwd face of the holes to receive flush rivets because these will go against the spacer later.


 Next I squired on some rattle can primer on these parts because I need to go ahead and rivet these doublers to the bracket mounting ears.  No time to prime with AKZO!


Here are the doublers riveted to the bracket's mounting ears.


 Next I made a spacer out of 0.063" sheet.  I used the bracket as a template to mark and cut it out.
Then I match drilled the center hole of the bulkhead to the whole assembly using a long drill bit.  I clamped the whole assembly well before drilling.


 Next I punched this hole I just drilled up to a #12 to receive a #3 AN bolt.


 This is what I was after.  The ability to unbolt and remove this bracket in the future when I need to crawl into the tailcone.


 Those two bolts need a nutplate on the fwd side of the bulkhead.  I used my nutplate jig to get the job done.  Pilot side...


Co-pilot side...


I will need to countersink these holes for the nutplate mount rivets as I want them to go through the spacer and the bulkhead web.


I will install a nutplate on each side fwd of this bulkhead to receive the bolts.


I will need to dimple these bulkhead holes and install flush rivets on the aft side.  This is because the spacer will lay on top of this area.

Pretty good little task but I am very happy with how it turned out!   Thanks to Caleb Tennis for the ideas I stole from his post!