I did manage to get some stuff done however.
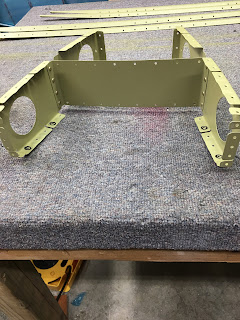
Started by dimpling the nose ribs. The ones marked don't get dimpled since they are holes that will get a nut-plate eventually to attach the emp. fairing.
Then I dimpled the inspar ribs. The little offset tabs don't get dimpled since they sit behind countersunk spar webs/caps or stringers.
Then I squeezed the rivets that hold the stringer web to the inside inspar ribs.
Then I riveted the two parts of the stringers together using the squeezer. Made two stringer assemblies.
Then I riveted the stringers to the stringer web. Did most of the rivets with the squeezer.
The two rivets in the corners on each side can't be squeezed or at least they can't with the squeezer/yokes I have so I shot these with the rivet gun and the tungsten bucking bar.
Then I cleco'ed the rest of the ribs (with the exception of the outer most two on each side) and the stringer sub assembly to the front spar.
Then I squeezed the rivets on these out board inspar ribs that only have three rivets.
Next was squeezing the inspar ribs with four rivets that have different length rivets due to two of them passing thru the spar caps and two that don't. Did the outboard ones first. Then I did the inboard ones. Due to squeezer/yoke/set geometry, I put the two outboard ones in one direction and the two inboard ones in the other. Whatever works and produces the best looking results.
Here is the front spar all attached to the inspar ribs/stringer assembly.
I am on a business trip till Wednesday so see you on Thursday!


No comments:
Post a Comment