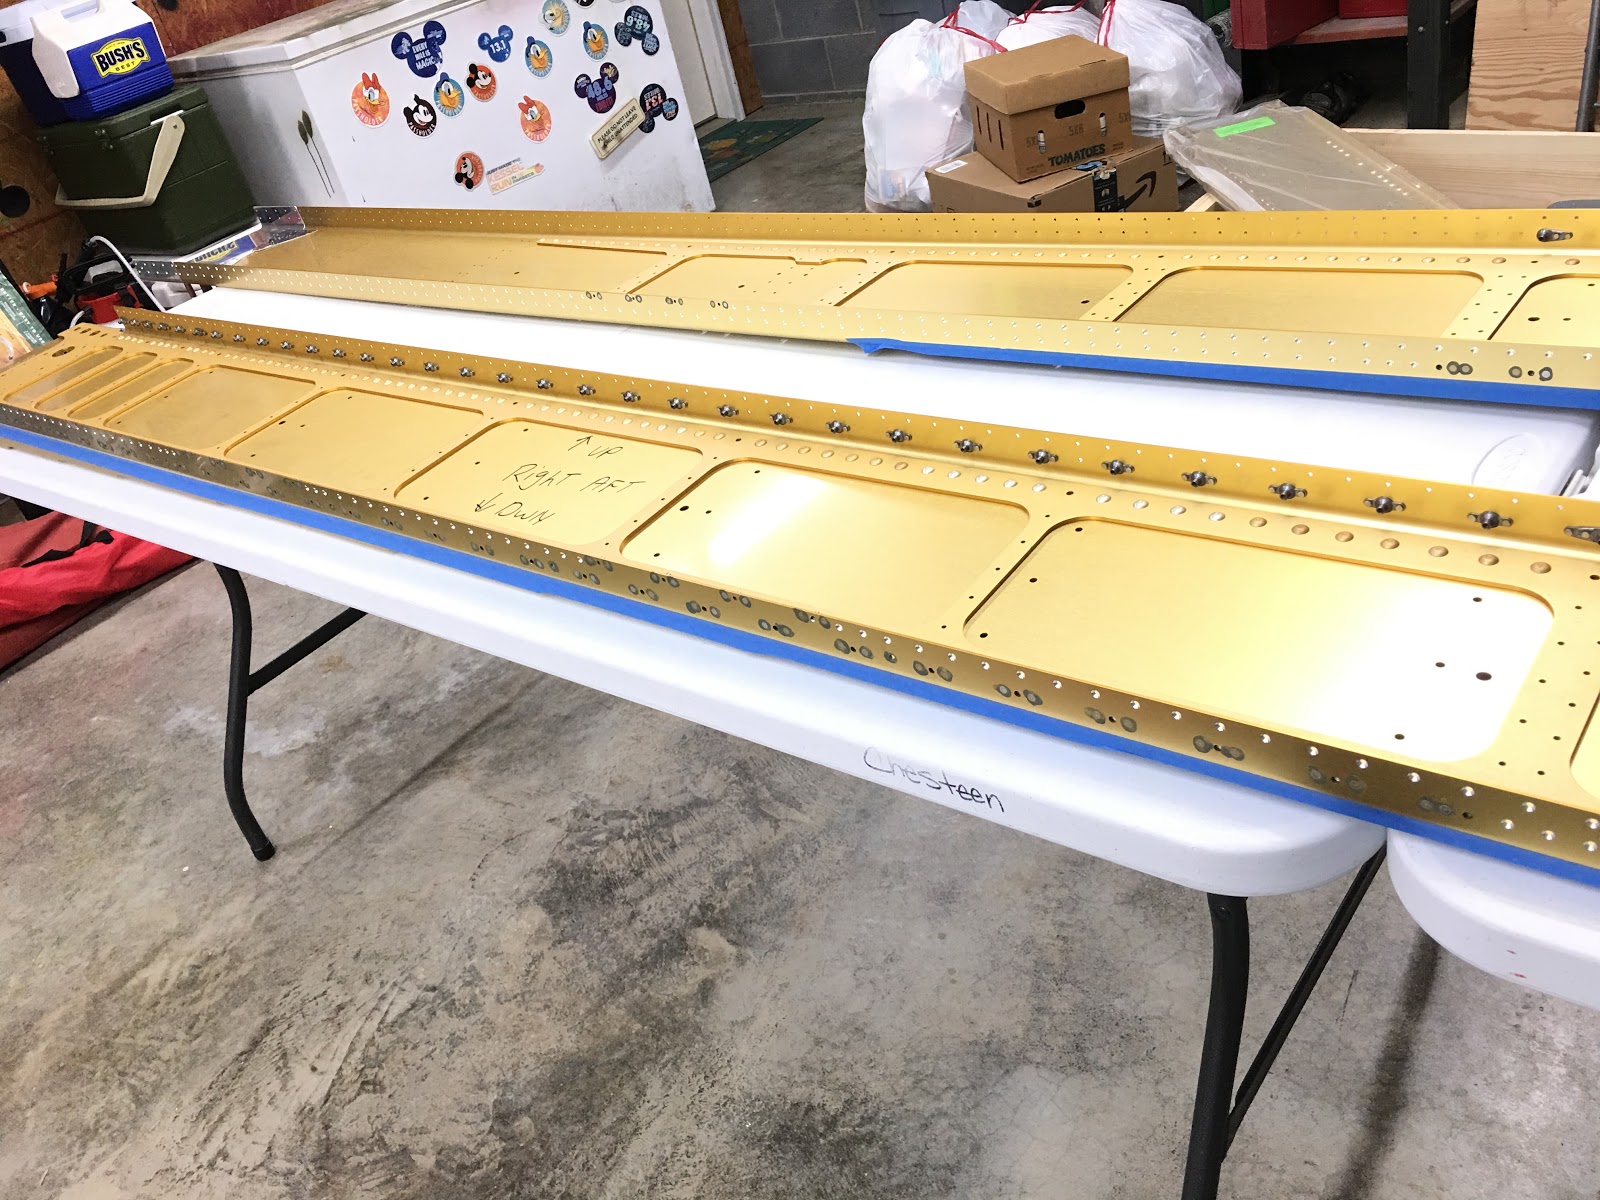
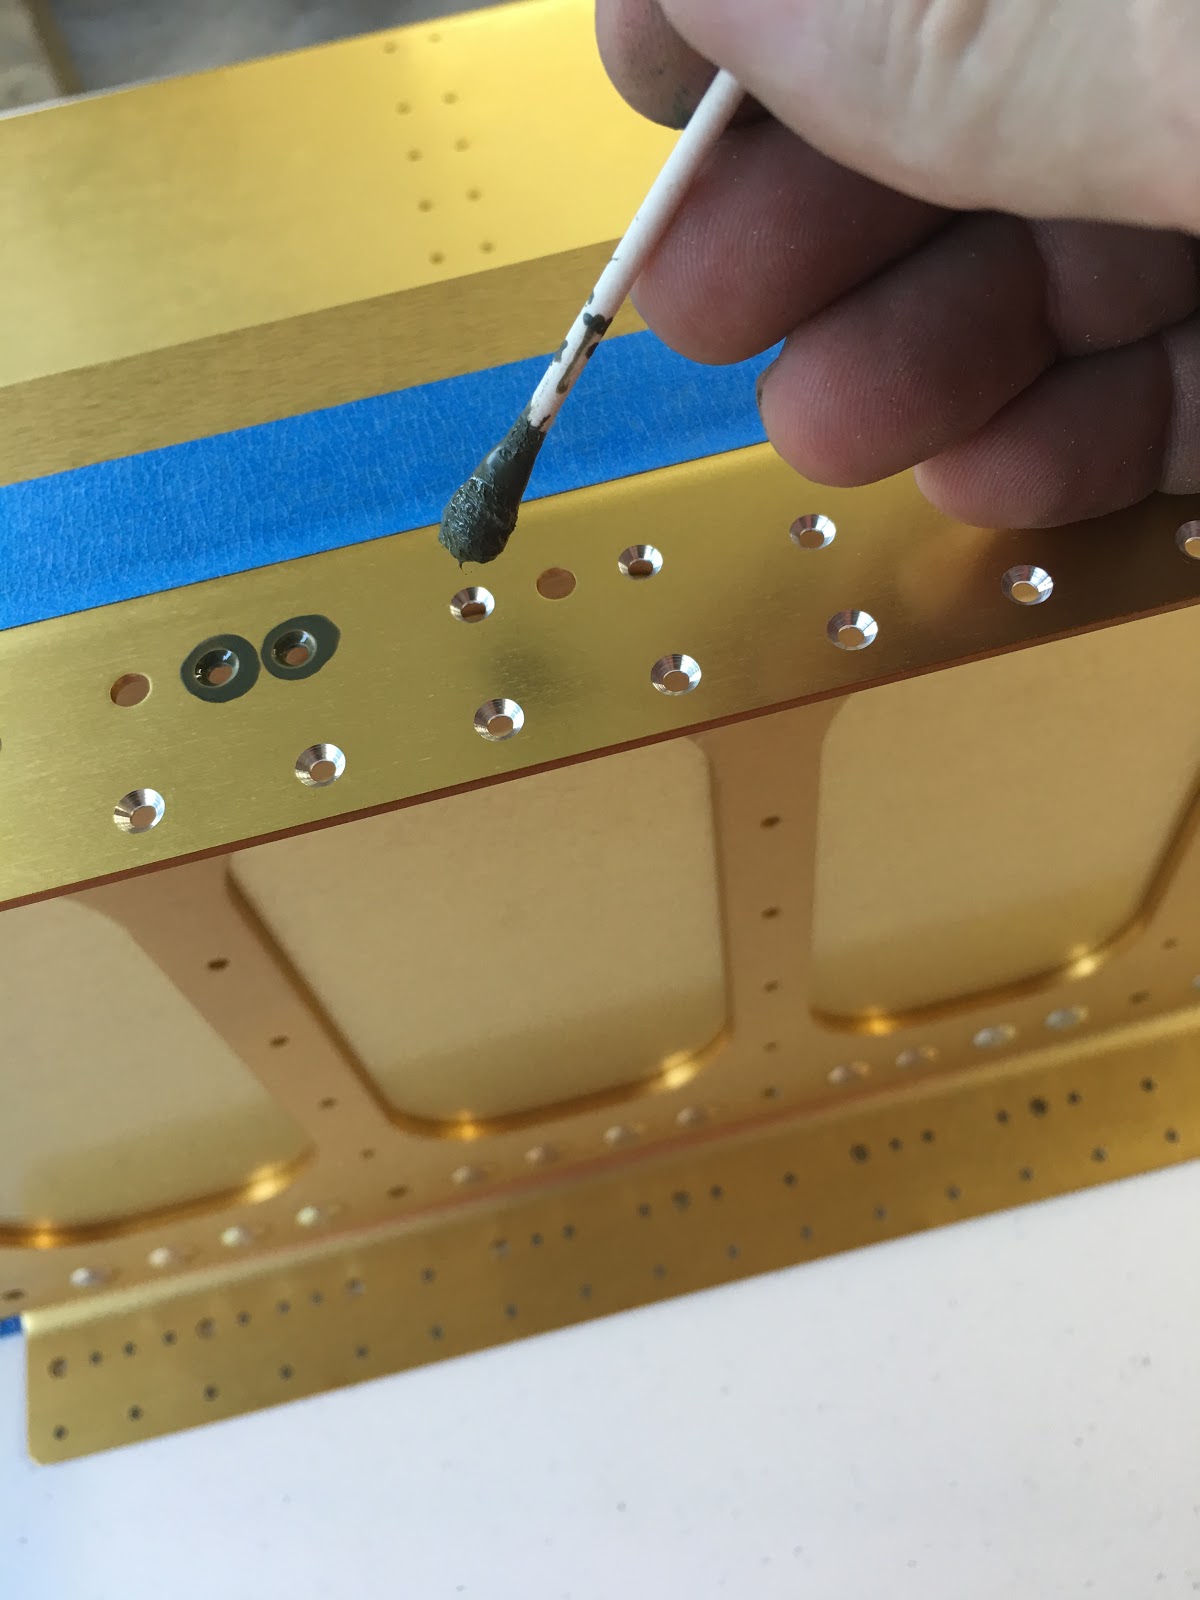
Got started by countersinking the tank and inspection cover screw locations on the spar. The countersinks are deep enough that they knife edge and enlarge the holes. This is why you rivet on the nutplates first before countersinking these holes. The idea is that the pilot on the countersink cutter is captured by the nutplate keeping the hole concentric and it prevents cutter chatter. For these inspection plate screw holes, use a cutter with a #40 pilot.
Van's specifies the max diameter of these countersinks. In the past the trend was to make these too deep and as a result, to large in diameter.
A test coupon is used just to double check the depth of the countersinks. Don't go too deep! The test coupon will sit just slightly proud when the depth is just right. NOT FLUSH! If you go to flush, the coupon will be able to move around in the countersink and this is a No No....
The tank attach screw holes are larger screws and have their own max diameter.
Got to use a cutter with a #30 pilot for these.
Similar test coupon but dimpled for the #8 screws.
After all the countersinking was done, I spot primed all countersinks with self etching primer using a Q tip...
Here is the ~ number of countersinks that were done for the wing spar flanges. Yes that is a bunch! I love my single flute countersink cutters! They make this much easier than the three flute ones! Just watch out for that large spiral chip that they make as it is sharp. Also be aware that they cut really fast so be sure you know they are adjusted properly before cutting into your high dollar spars!
Next step was to increase this hole size to 3/8" on the left spar only and install a snap bushing.
Reamed these #30 holes full size on the webs of the root of the spars.
Reamed all the #40 holes full size on the webs of the root of the spars.
More #40 holes.
Next I triple checked that I was countersinking these spar flange rivet holes that are in between the wing attach bolt nuplates.
Here they are all countersunk.
Next I triple checked that I was countersinking the correct side for the wing attach bolt nutplates. These get flush mounting rivets.
Here are those all finished.
Next I countersunk the tank attach nutplate mounting holes. They are done on the opposite side! Be careful as it would be easy to countersink the wrong side! Notice the outboard most hole is too close to the spar bar to get the cage in there....
For these, I just put the bit in the electric screwdriver and use the suicide method of countersinking the hole. Just go slow and spot check it very often to make sure you don't go to deep!
Once done, you can't tell they were done without a cage.
Nice and easy!
Next I squeezed the three #4 rivets that are between the wing attach bolt nutplates.
And then the wing attach bolt nutplate mounting rivets.
And finally I had to use the rivet gun and bucking bar to rivet these tank attach bolt nutplate mounting rivets. The ones close to the spar bars are a little tricky. Don't damage those bars!